Essential


Movement ready for casing.

The hidden side of the movement, under the dial. I designed the time-setting mechanism in such a way that none of the setting pinions would turn unnecessarily while the watch is running.

On each mainplate, the logo and serial number are hand-engraved on the dial side.

The logo represents a back-to-back F and P

Balance wheel machining

Assembled balance wheel

The balance wheel assembled on its bridge.

Reducing the thickness of the hands on the lathe.
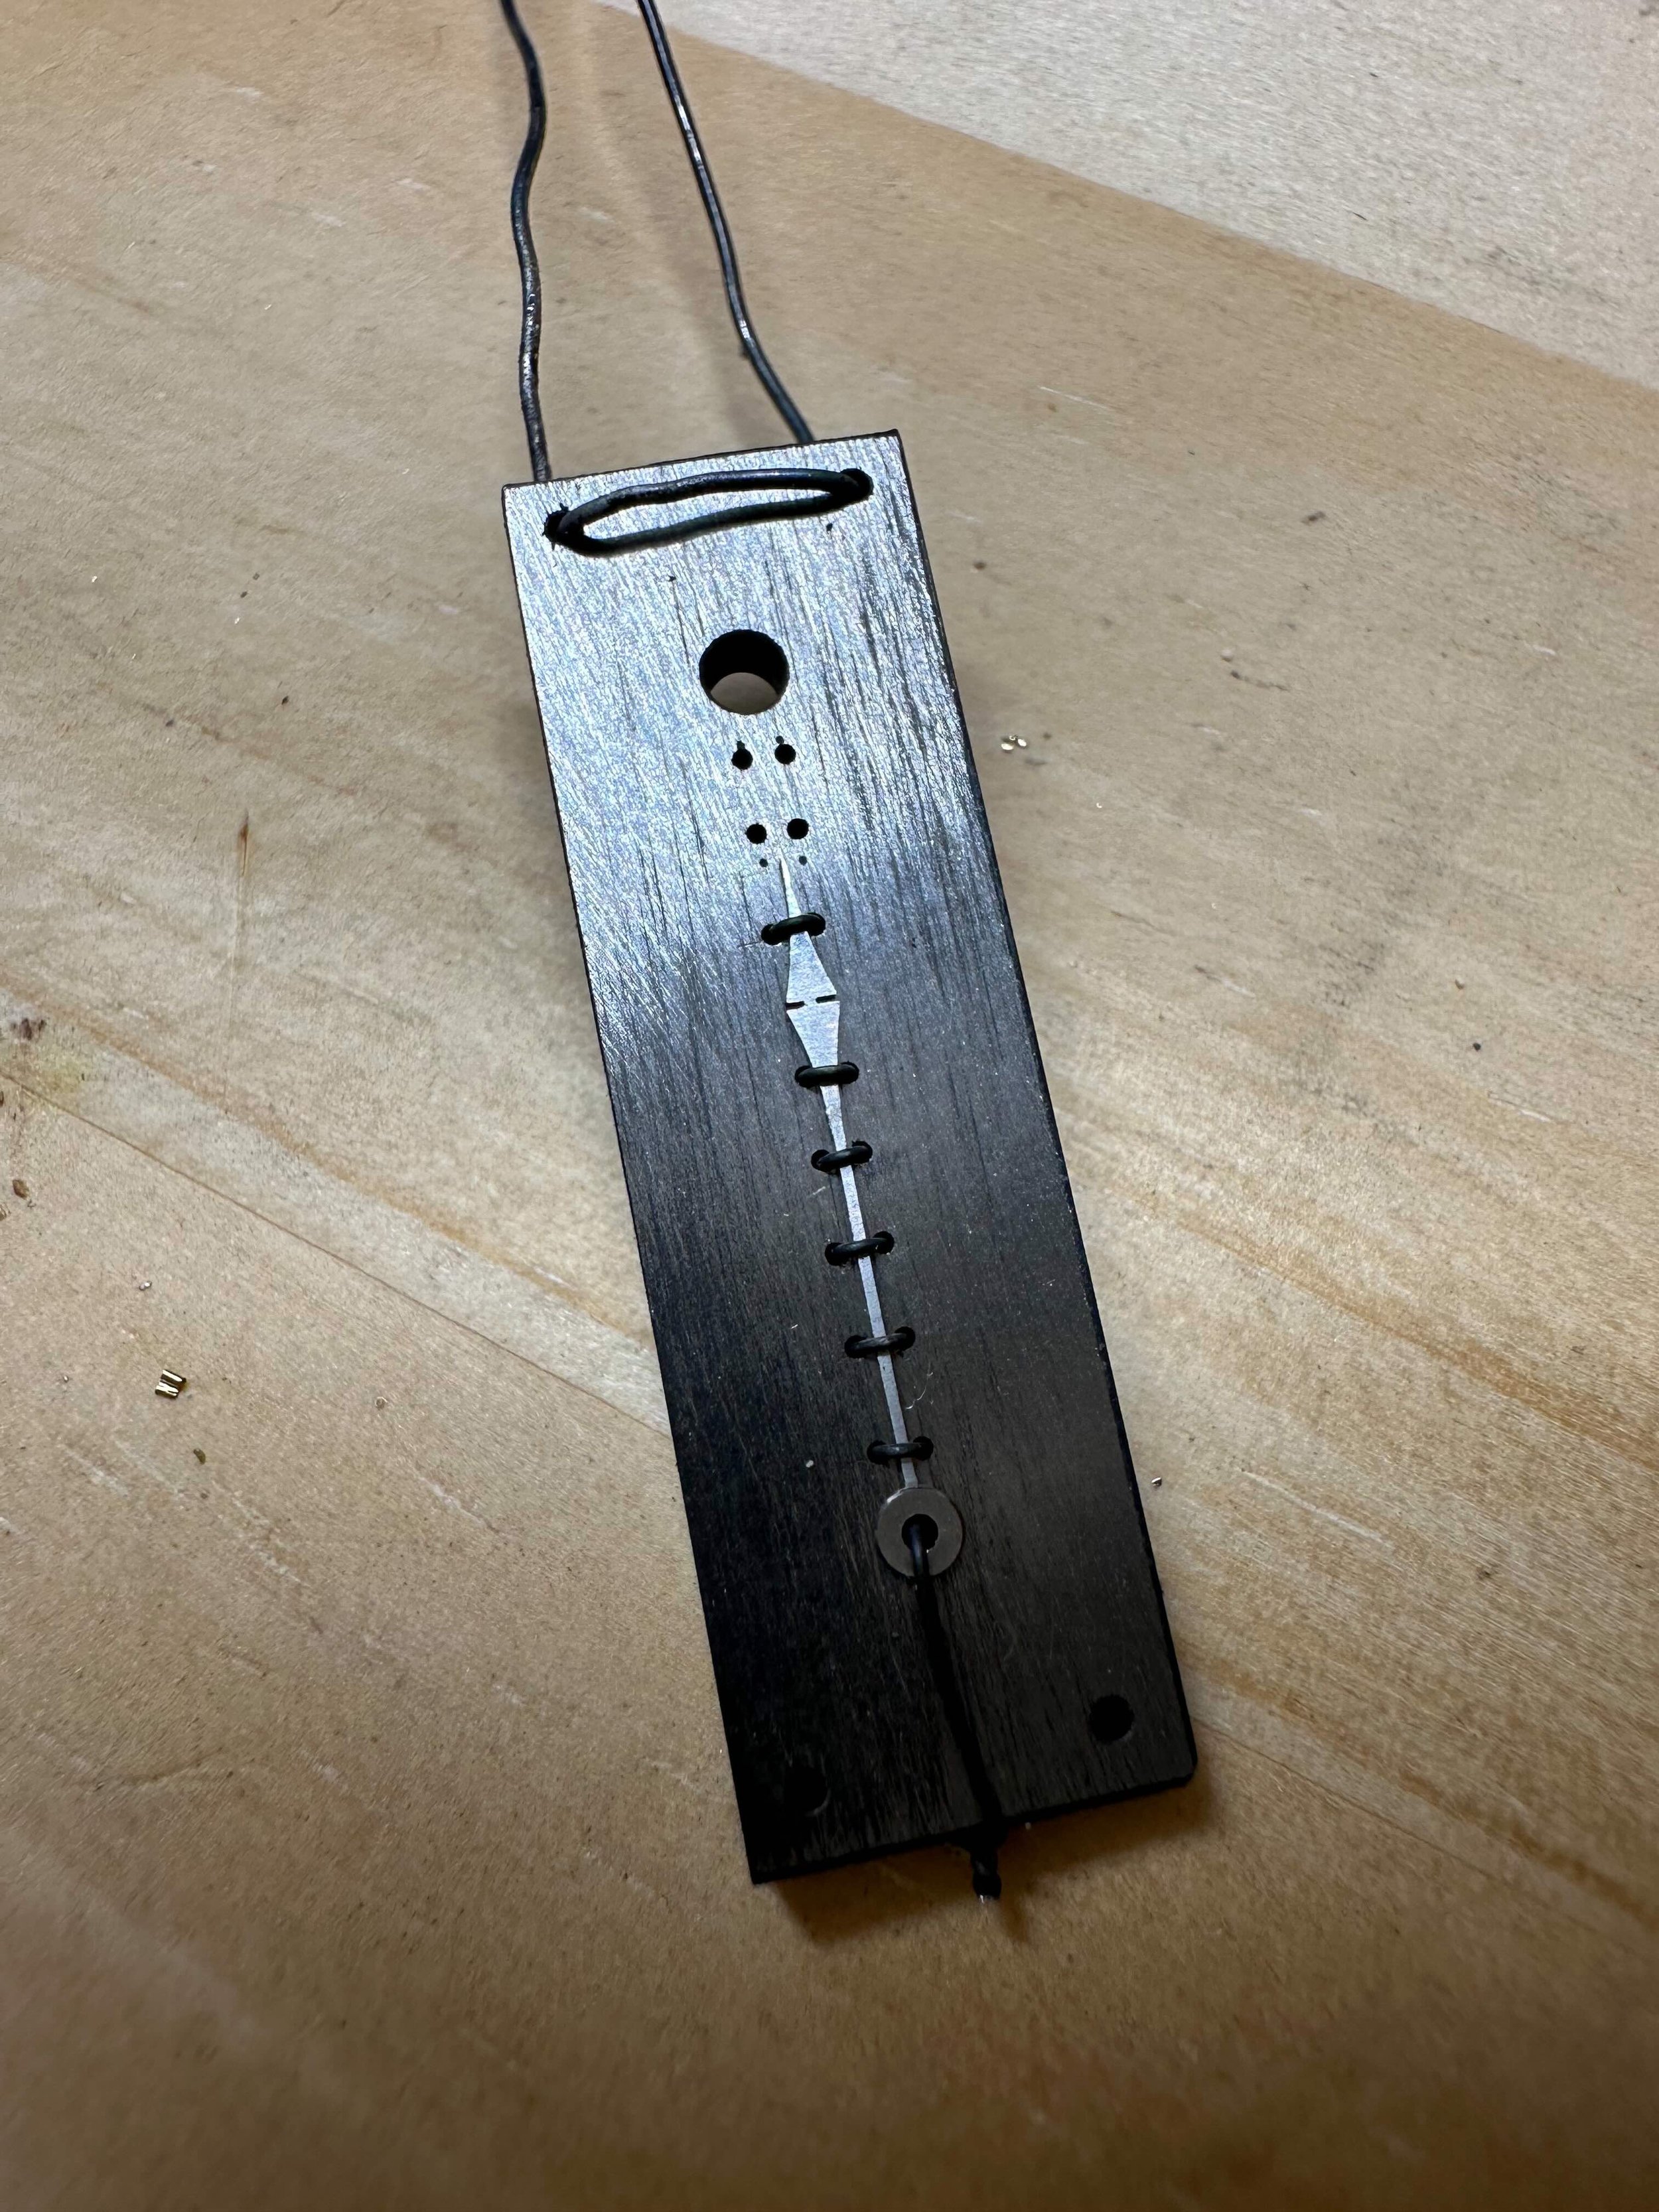
After machining, the hand must be held in place to prevent deformation during hardening
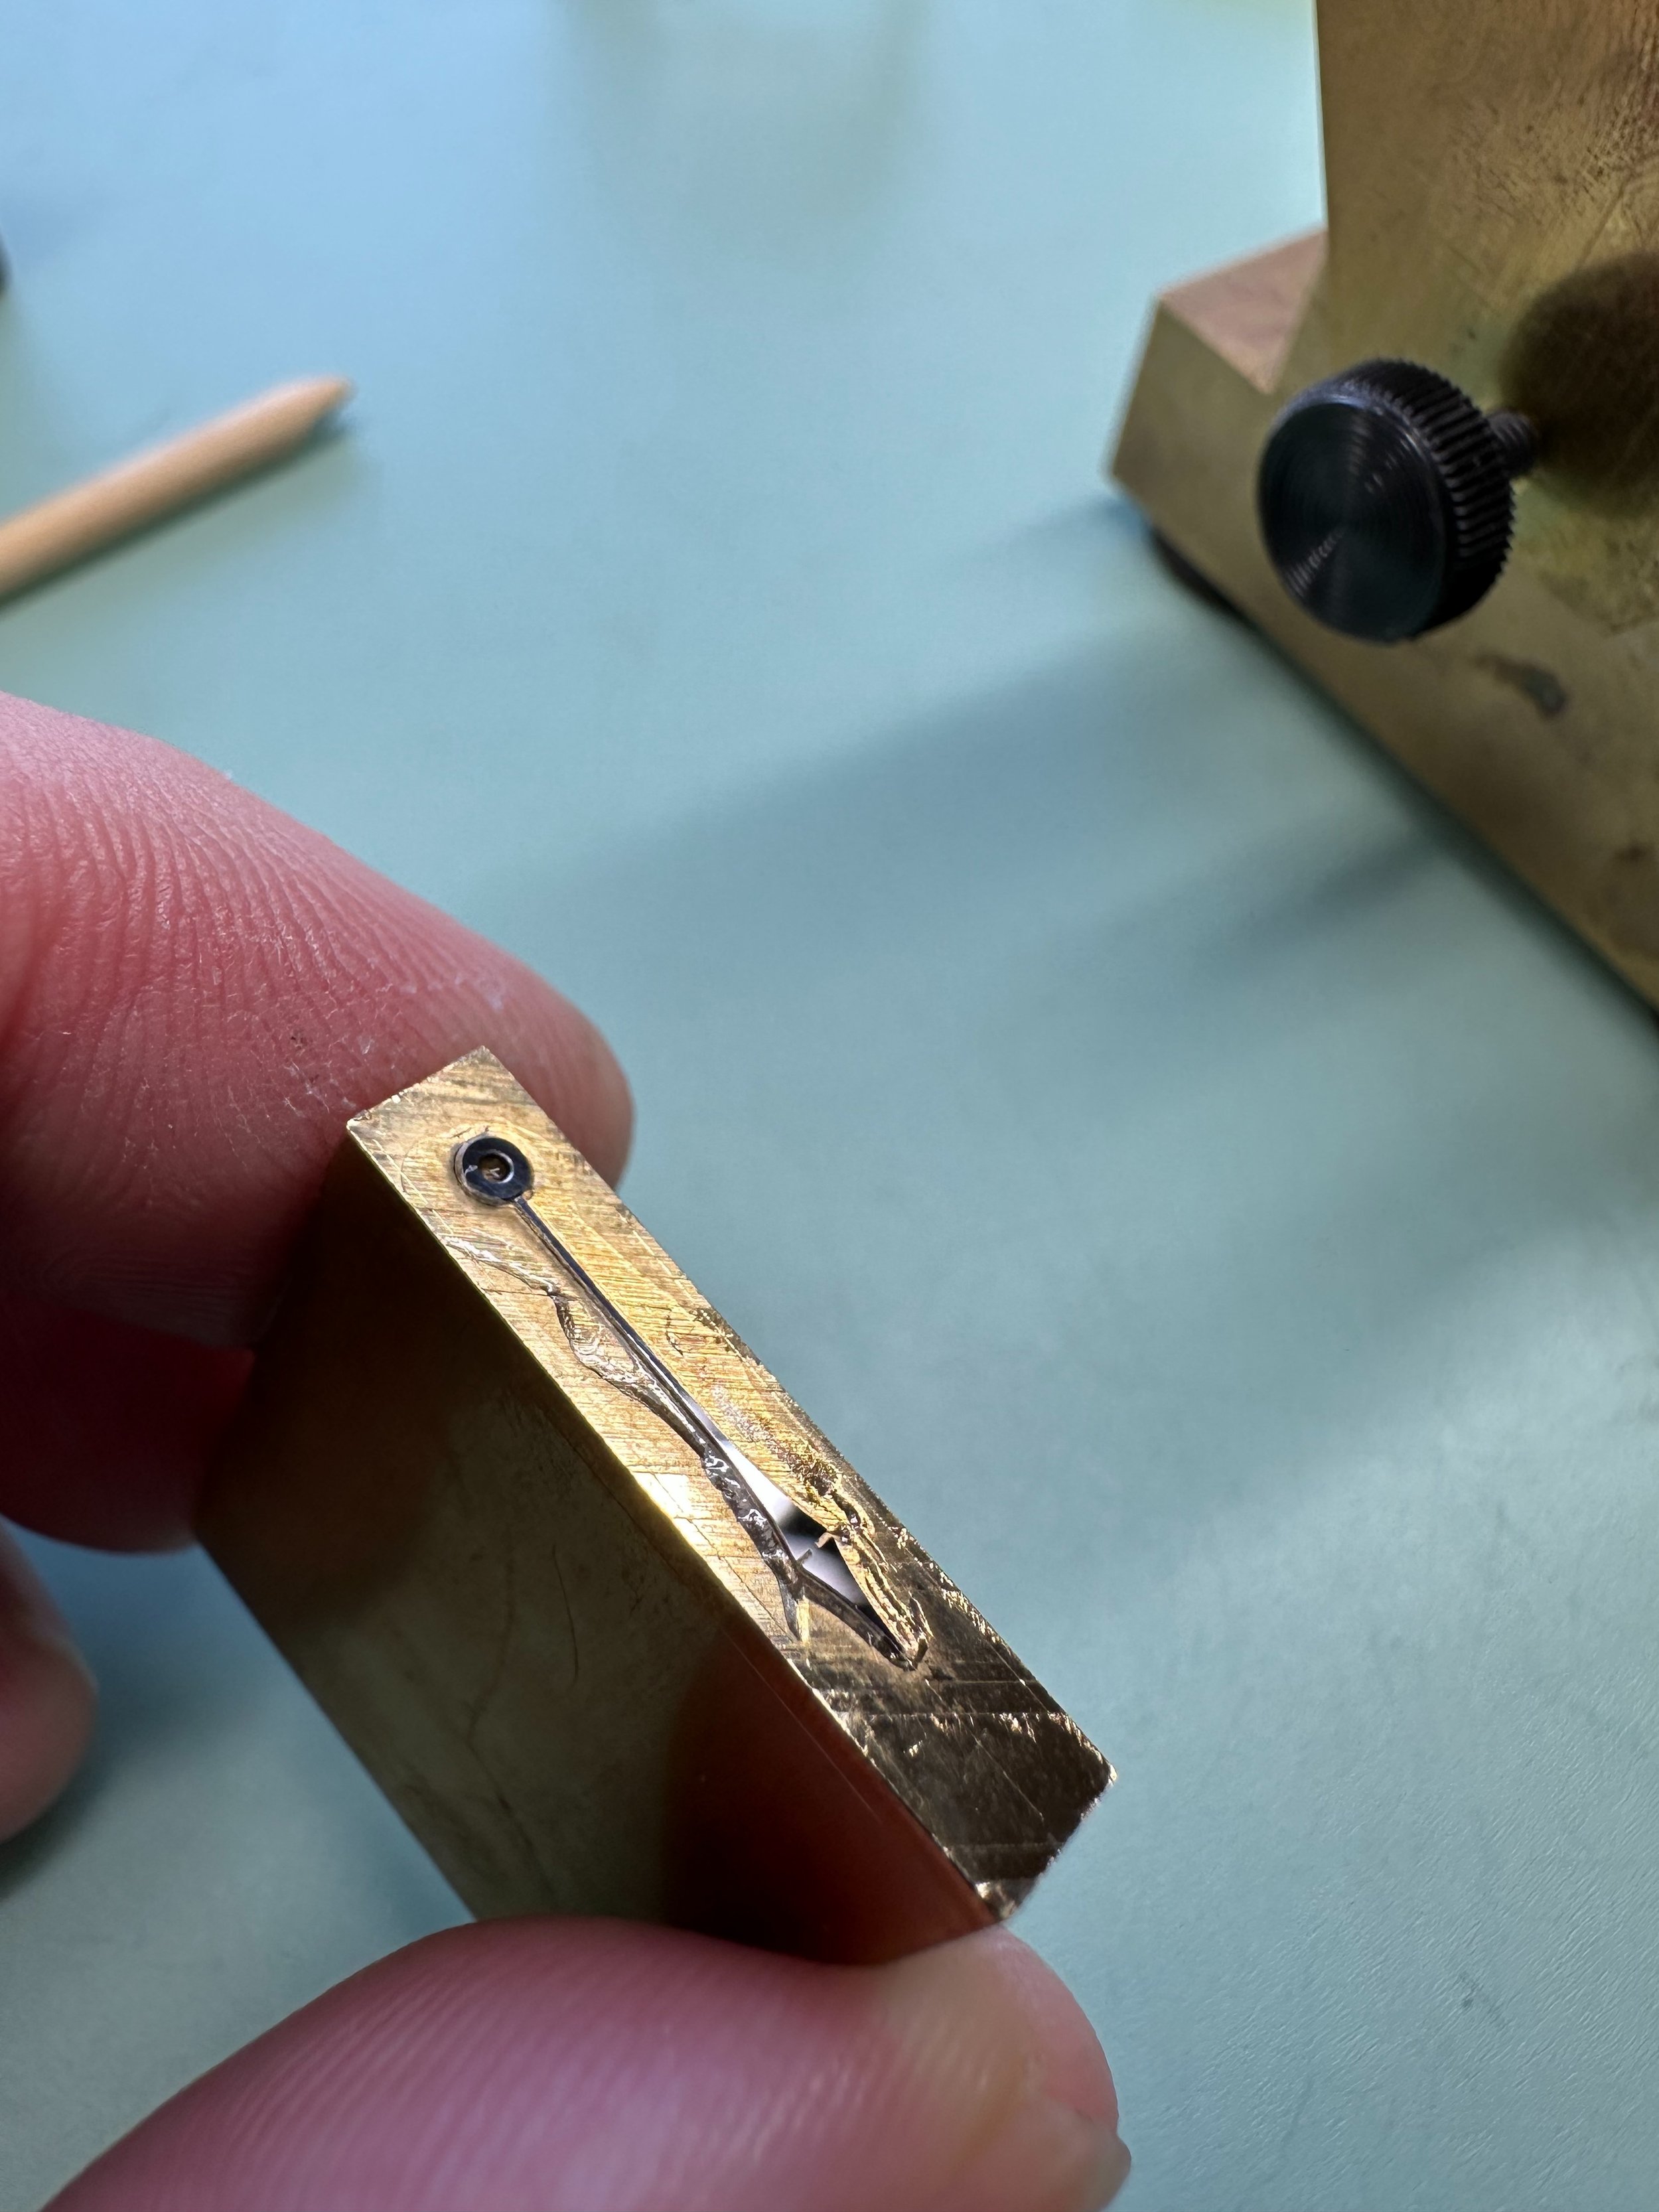
Two-level hand black polishing

Turning the center of the hand on the pivoting lathe

Blueing the hand with an alcohol lamp
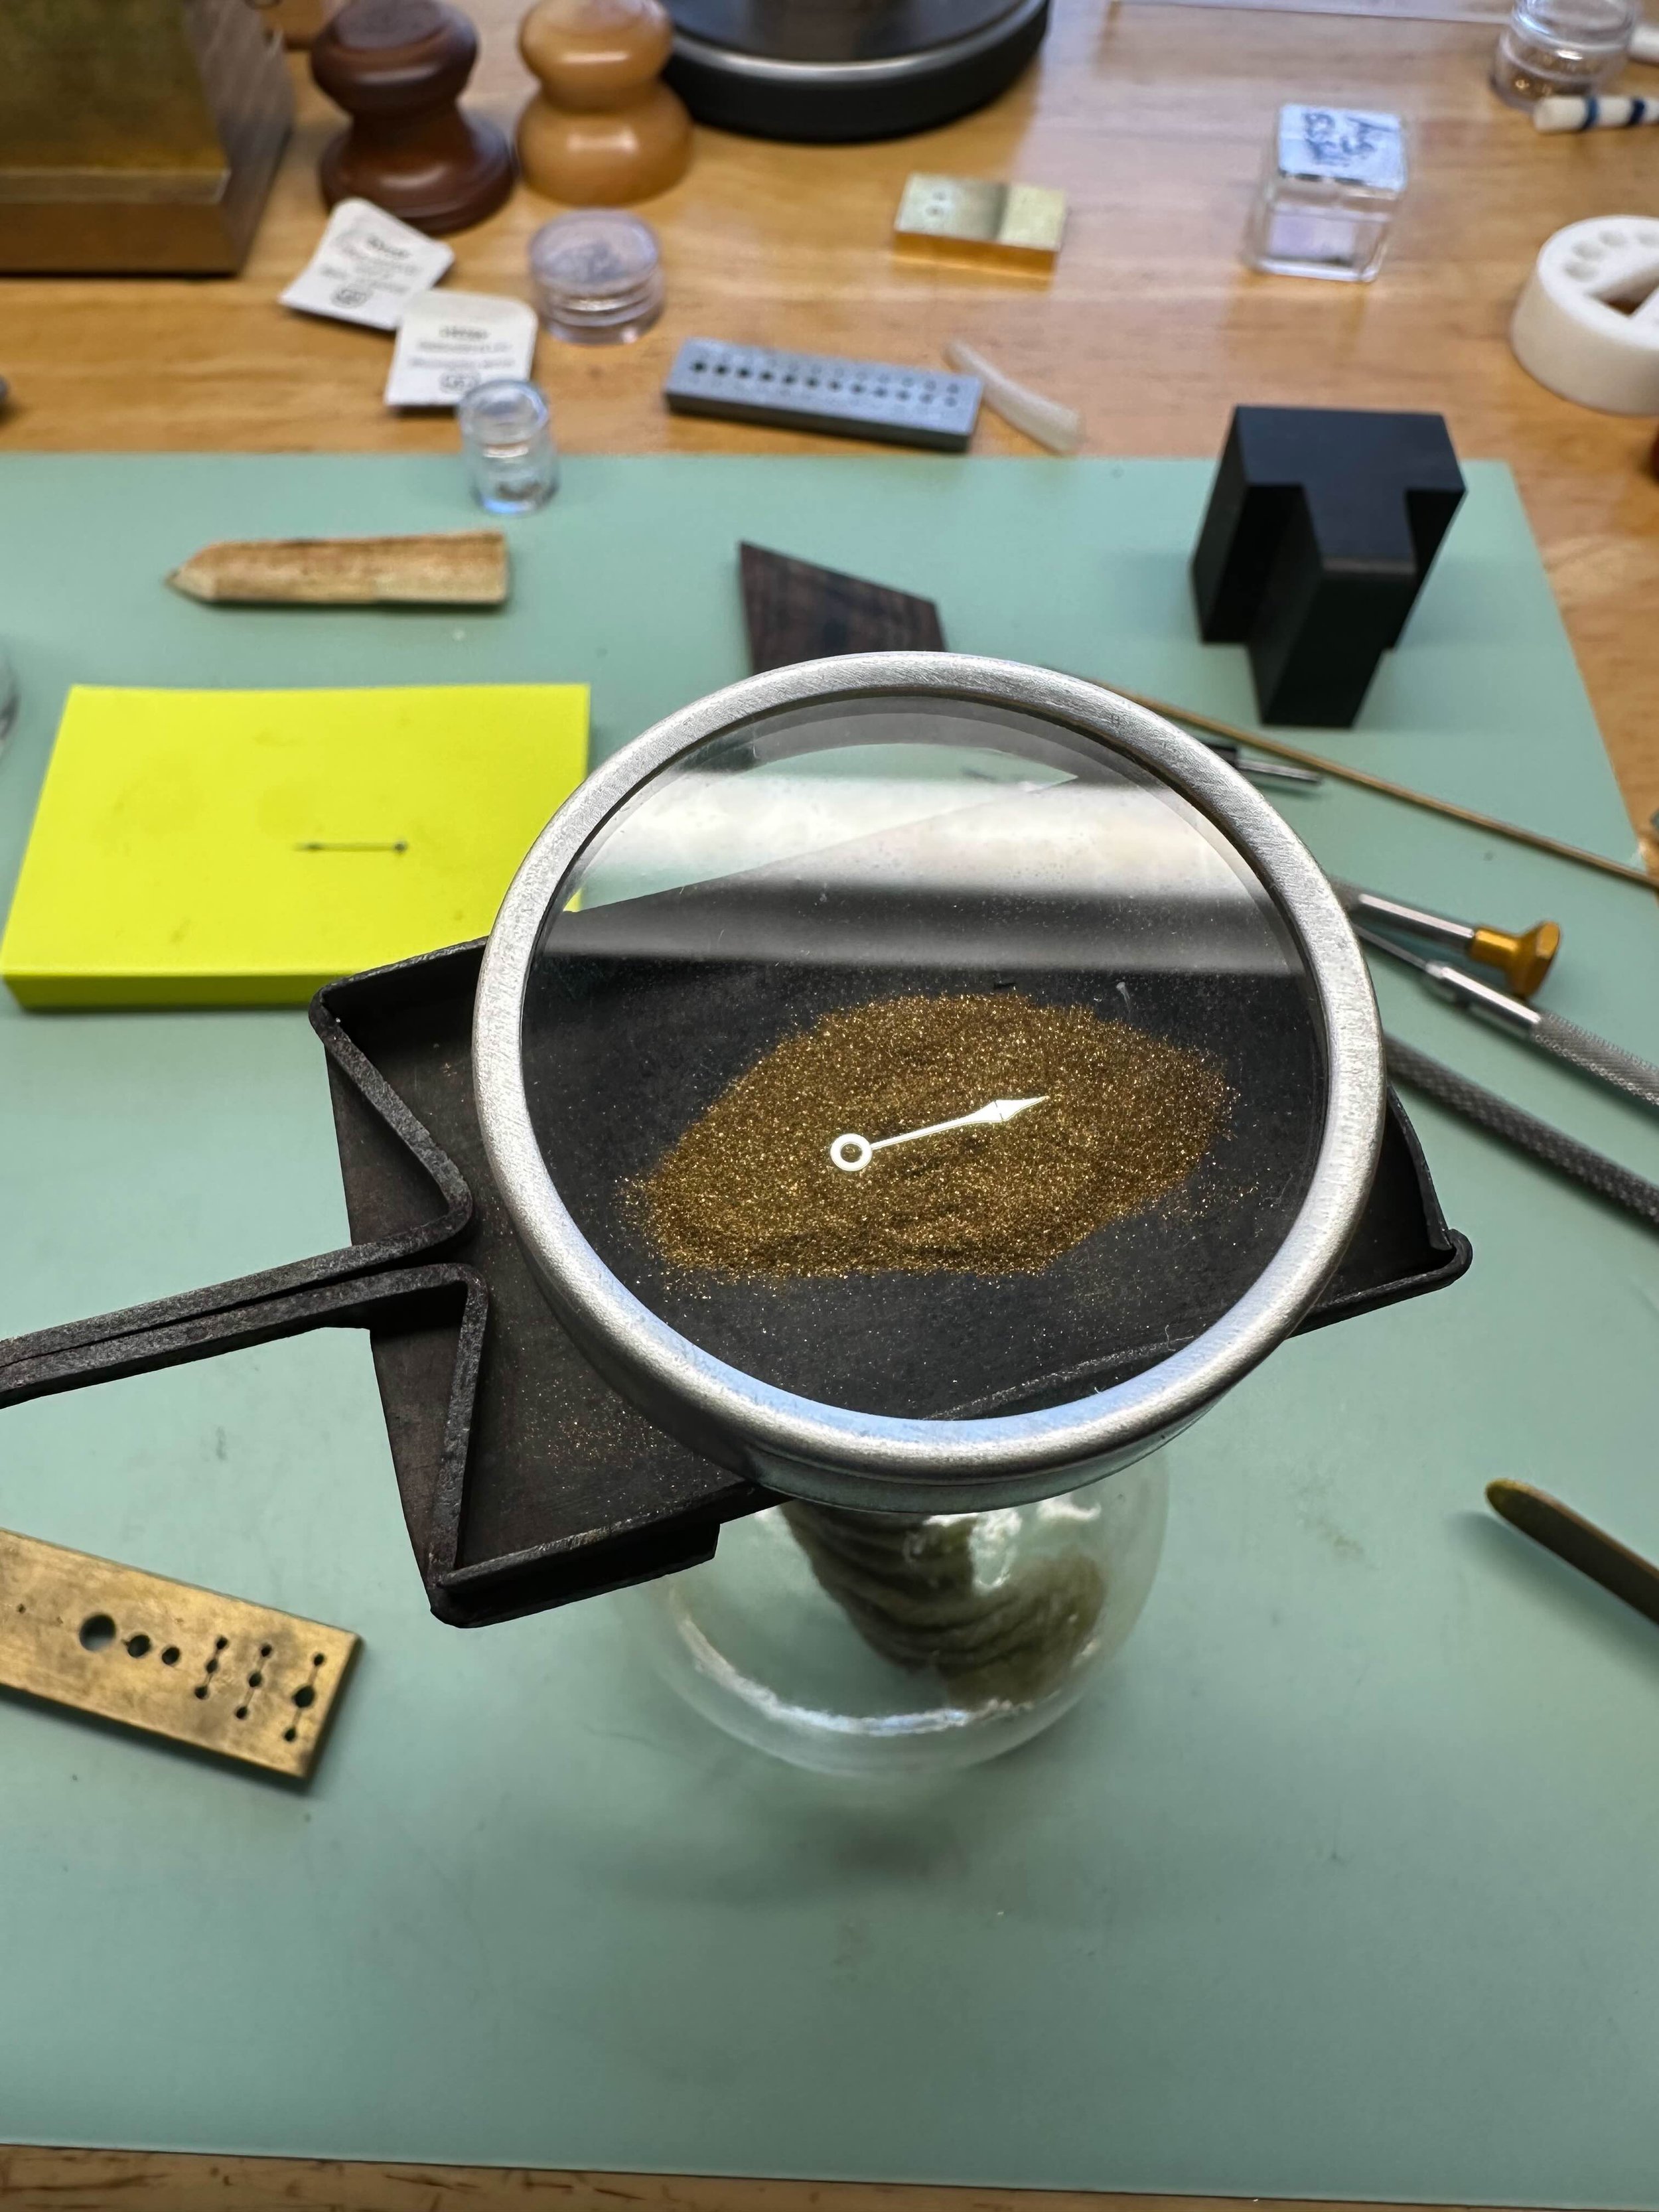
One single hand requires several days of meticulous work.
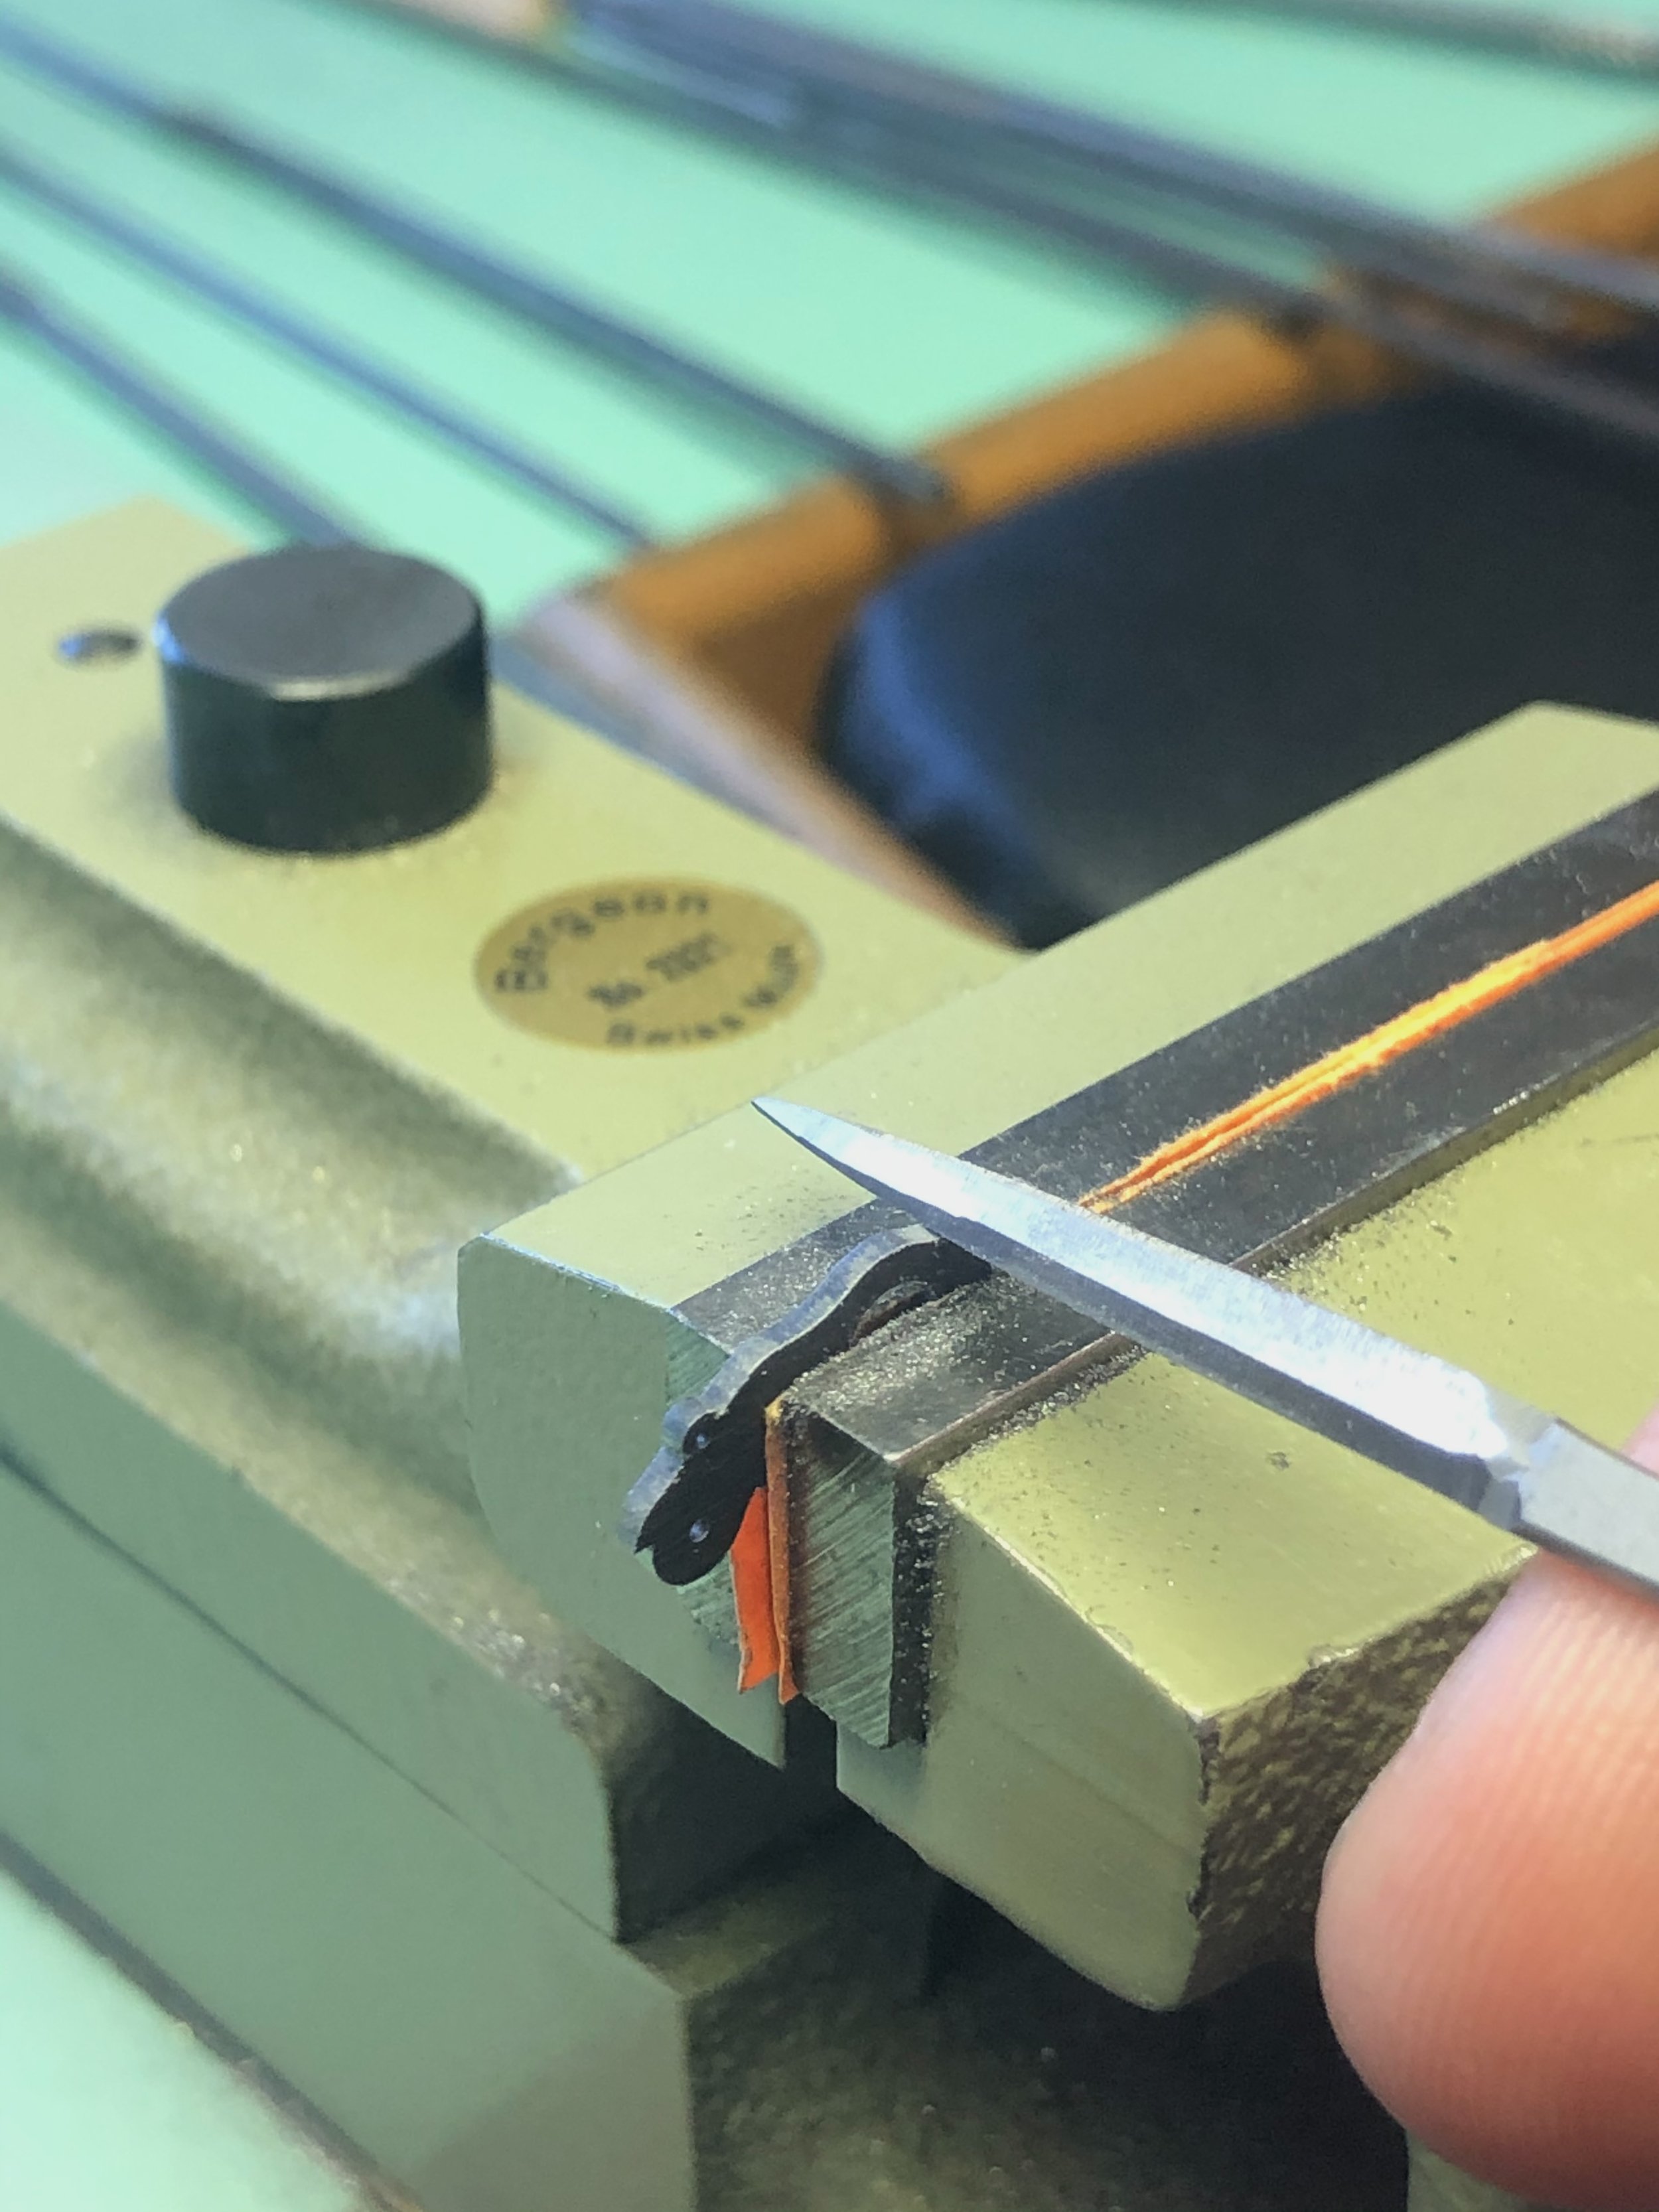
After cutting the shape with a saw, the contour of the winding lever is refined with a file.
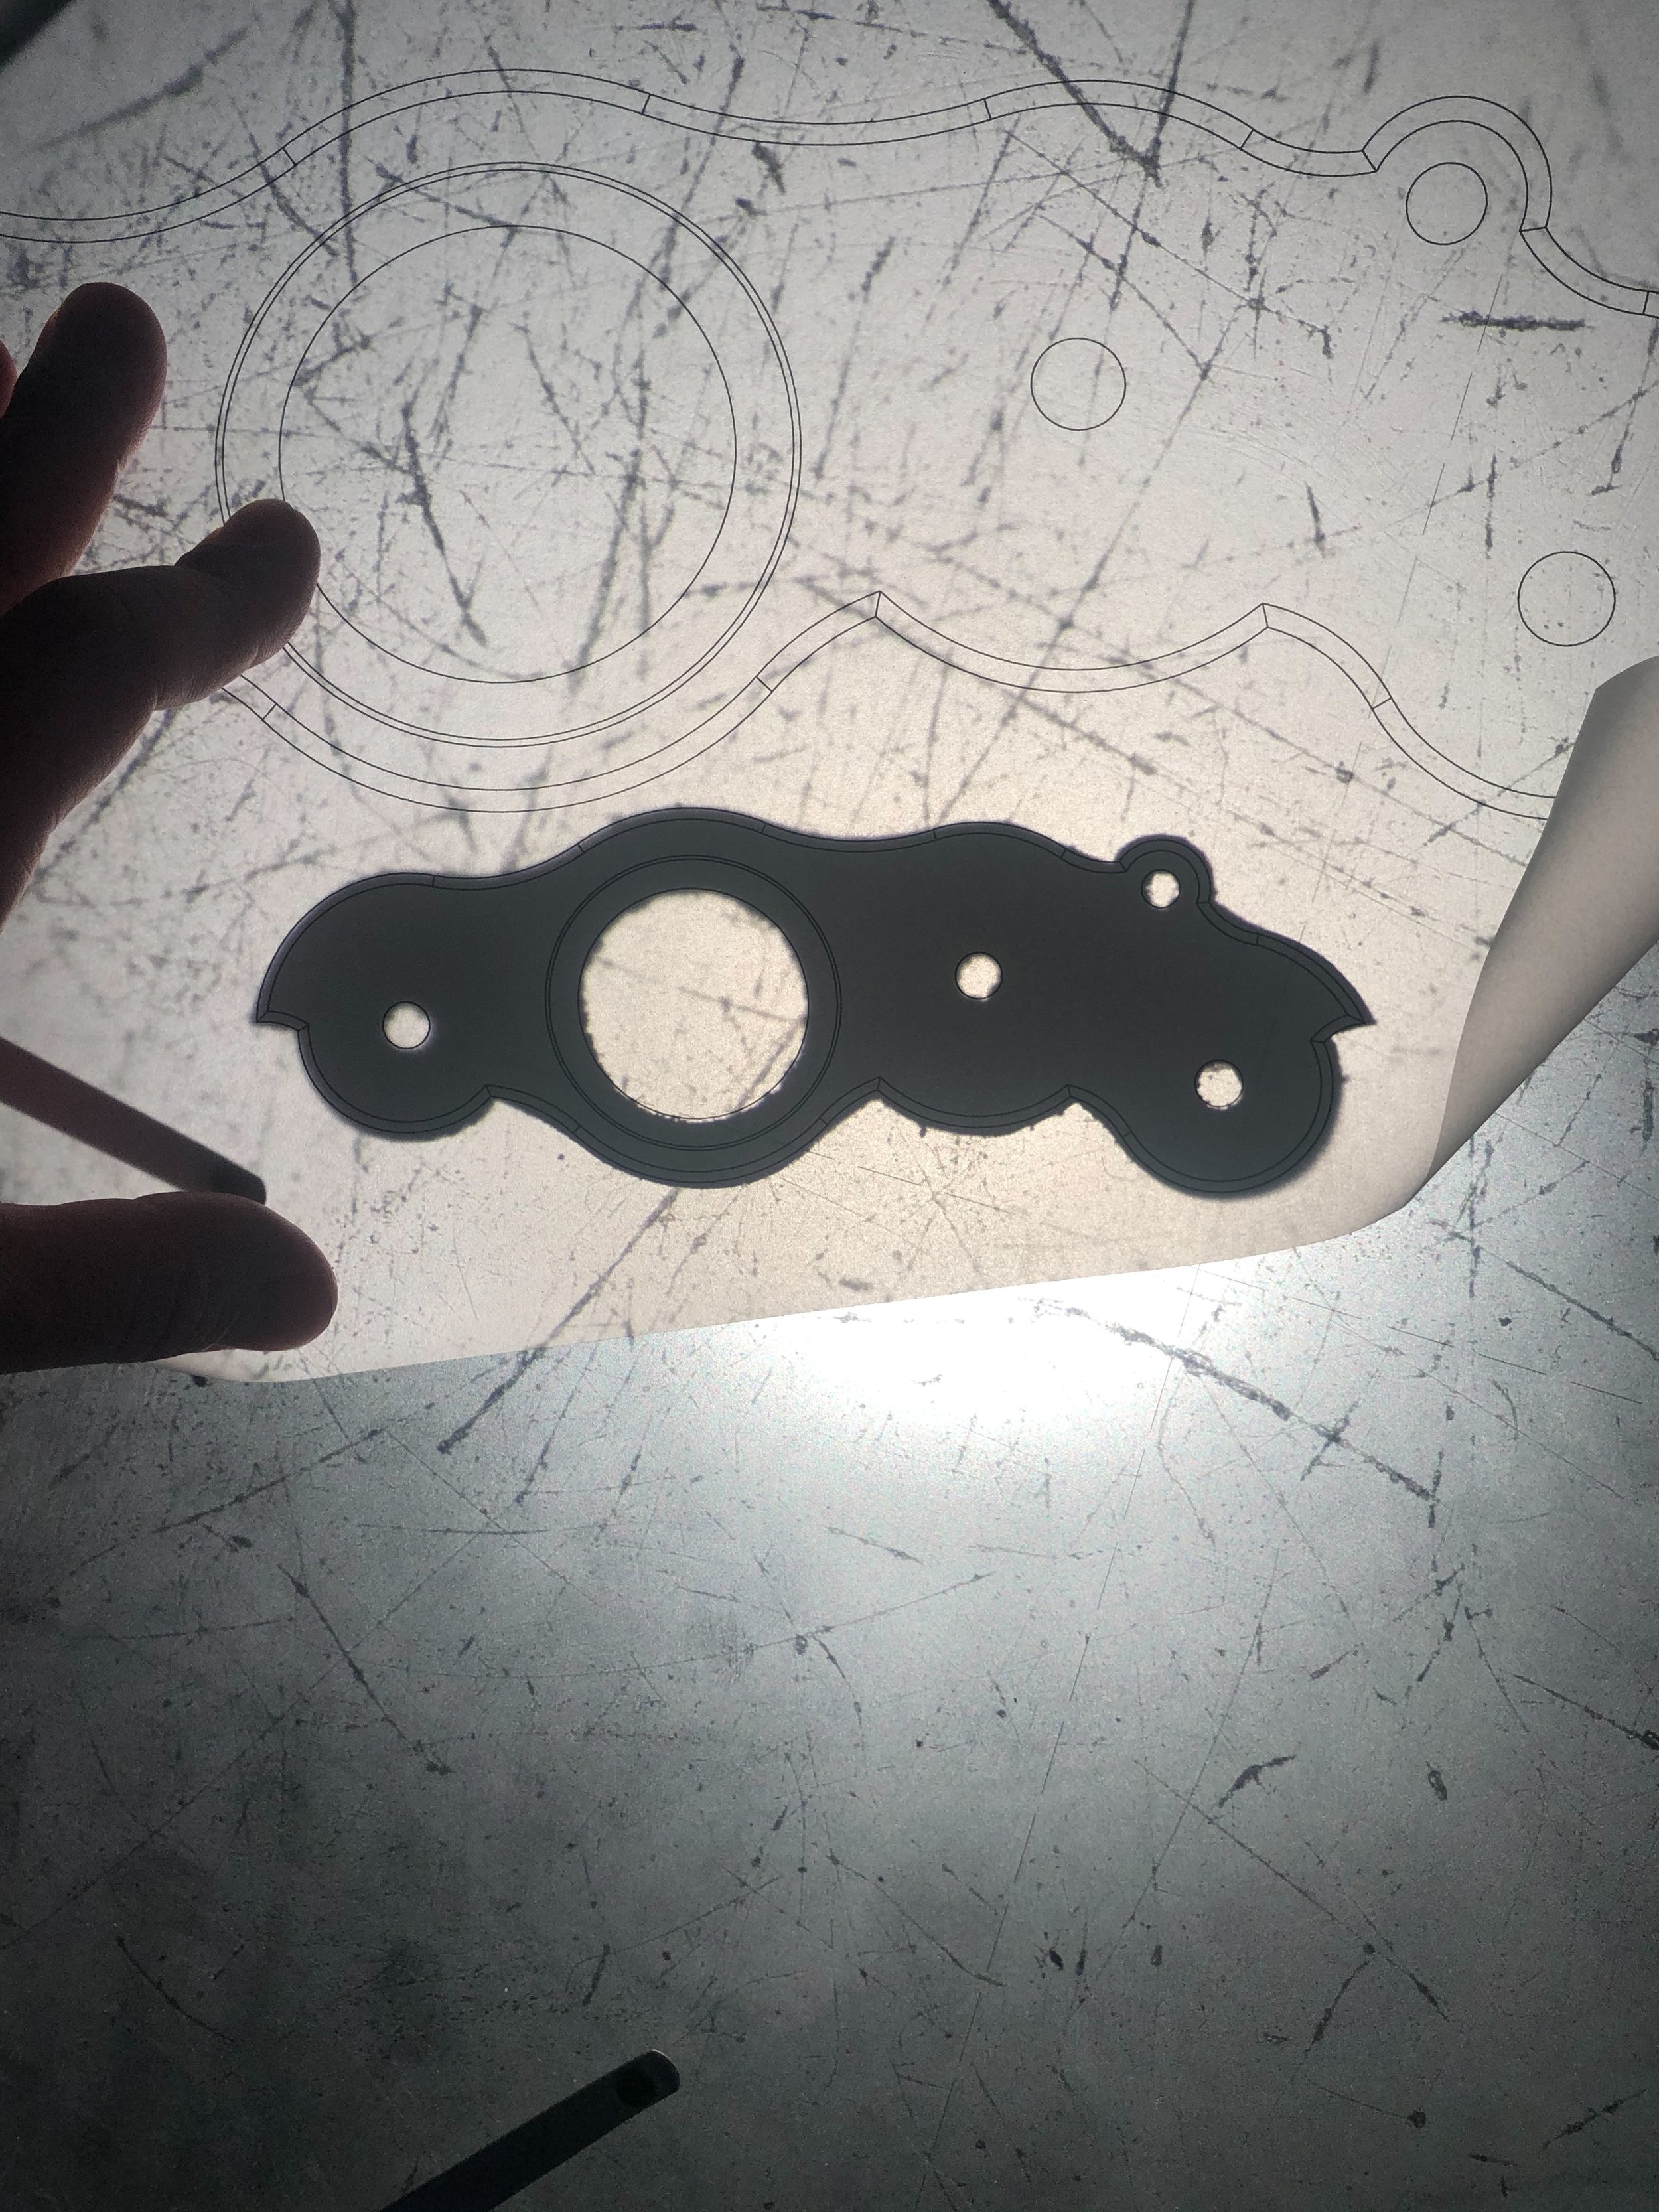
Shape controled by enlarging with profile projector

Once the correct shape has been obtained, hardening and tempering.
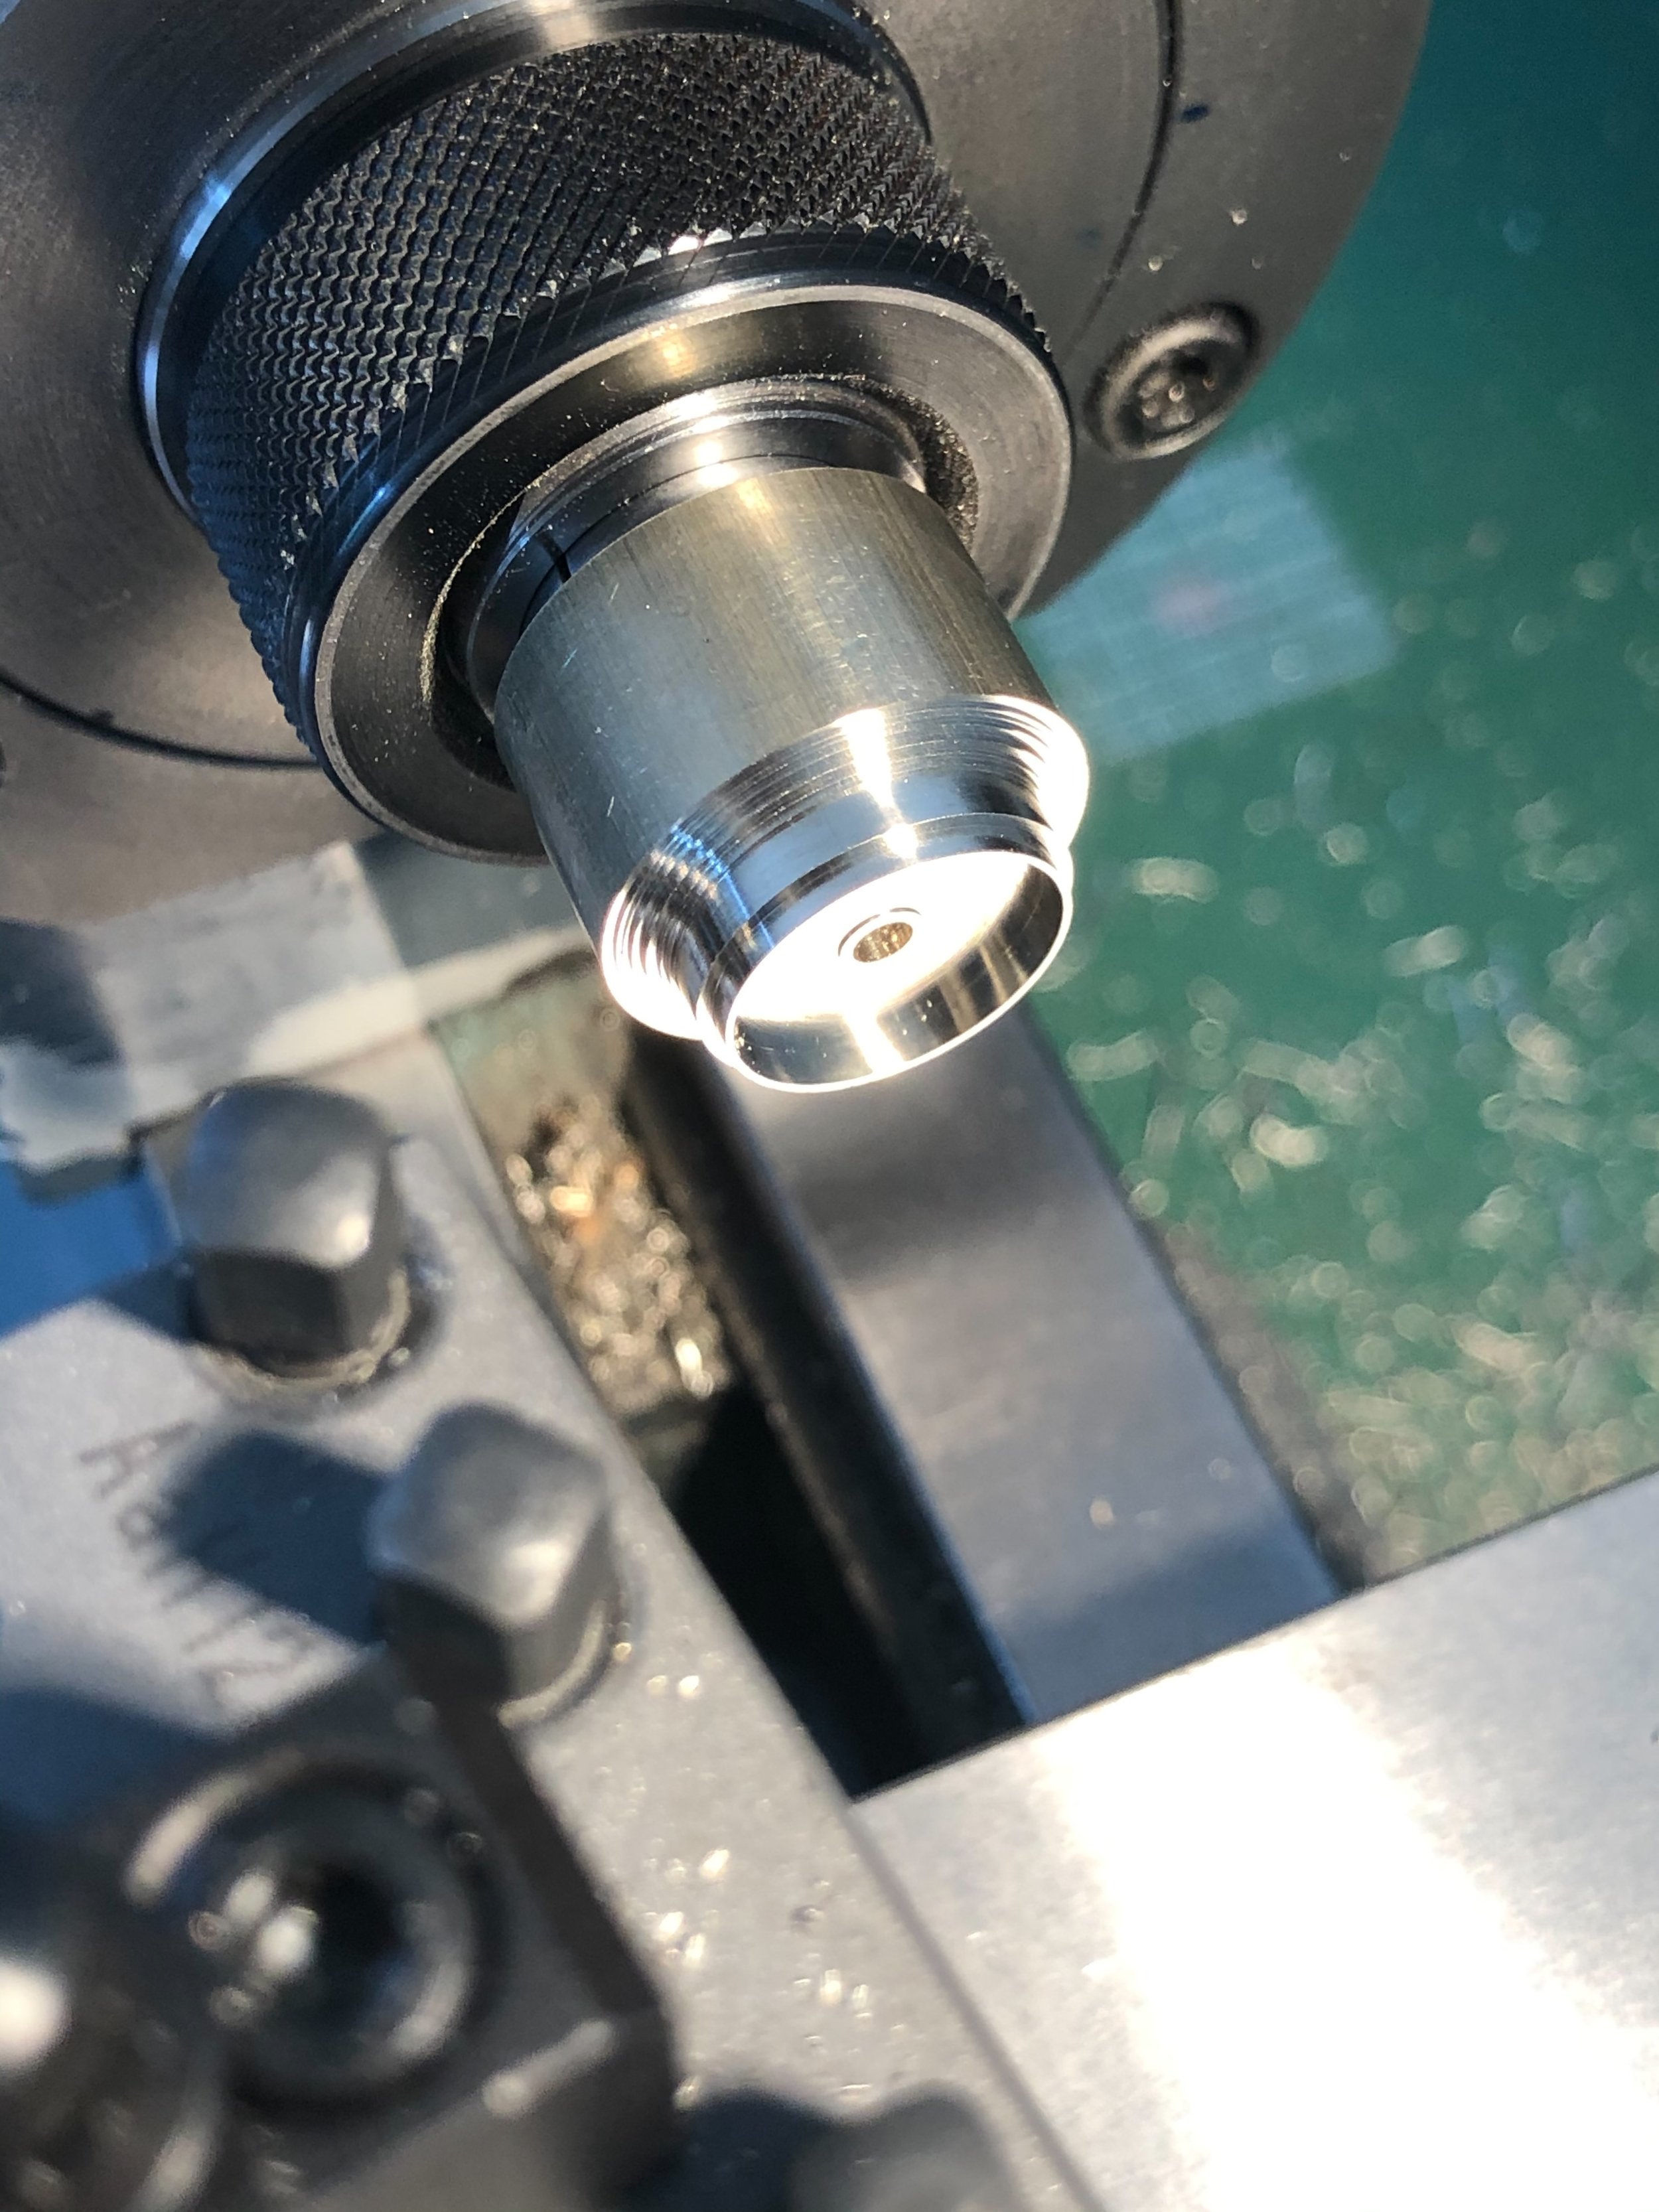
Machining the German silver barrel on a lathe.

Once the teeth have been cut, the part can be cut to length.
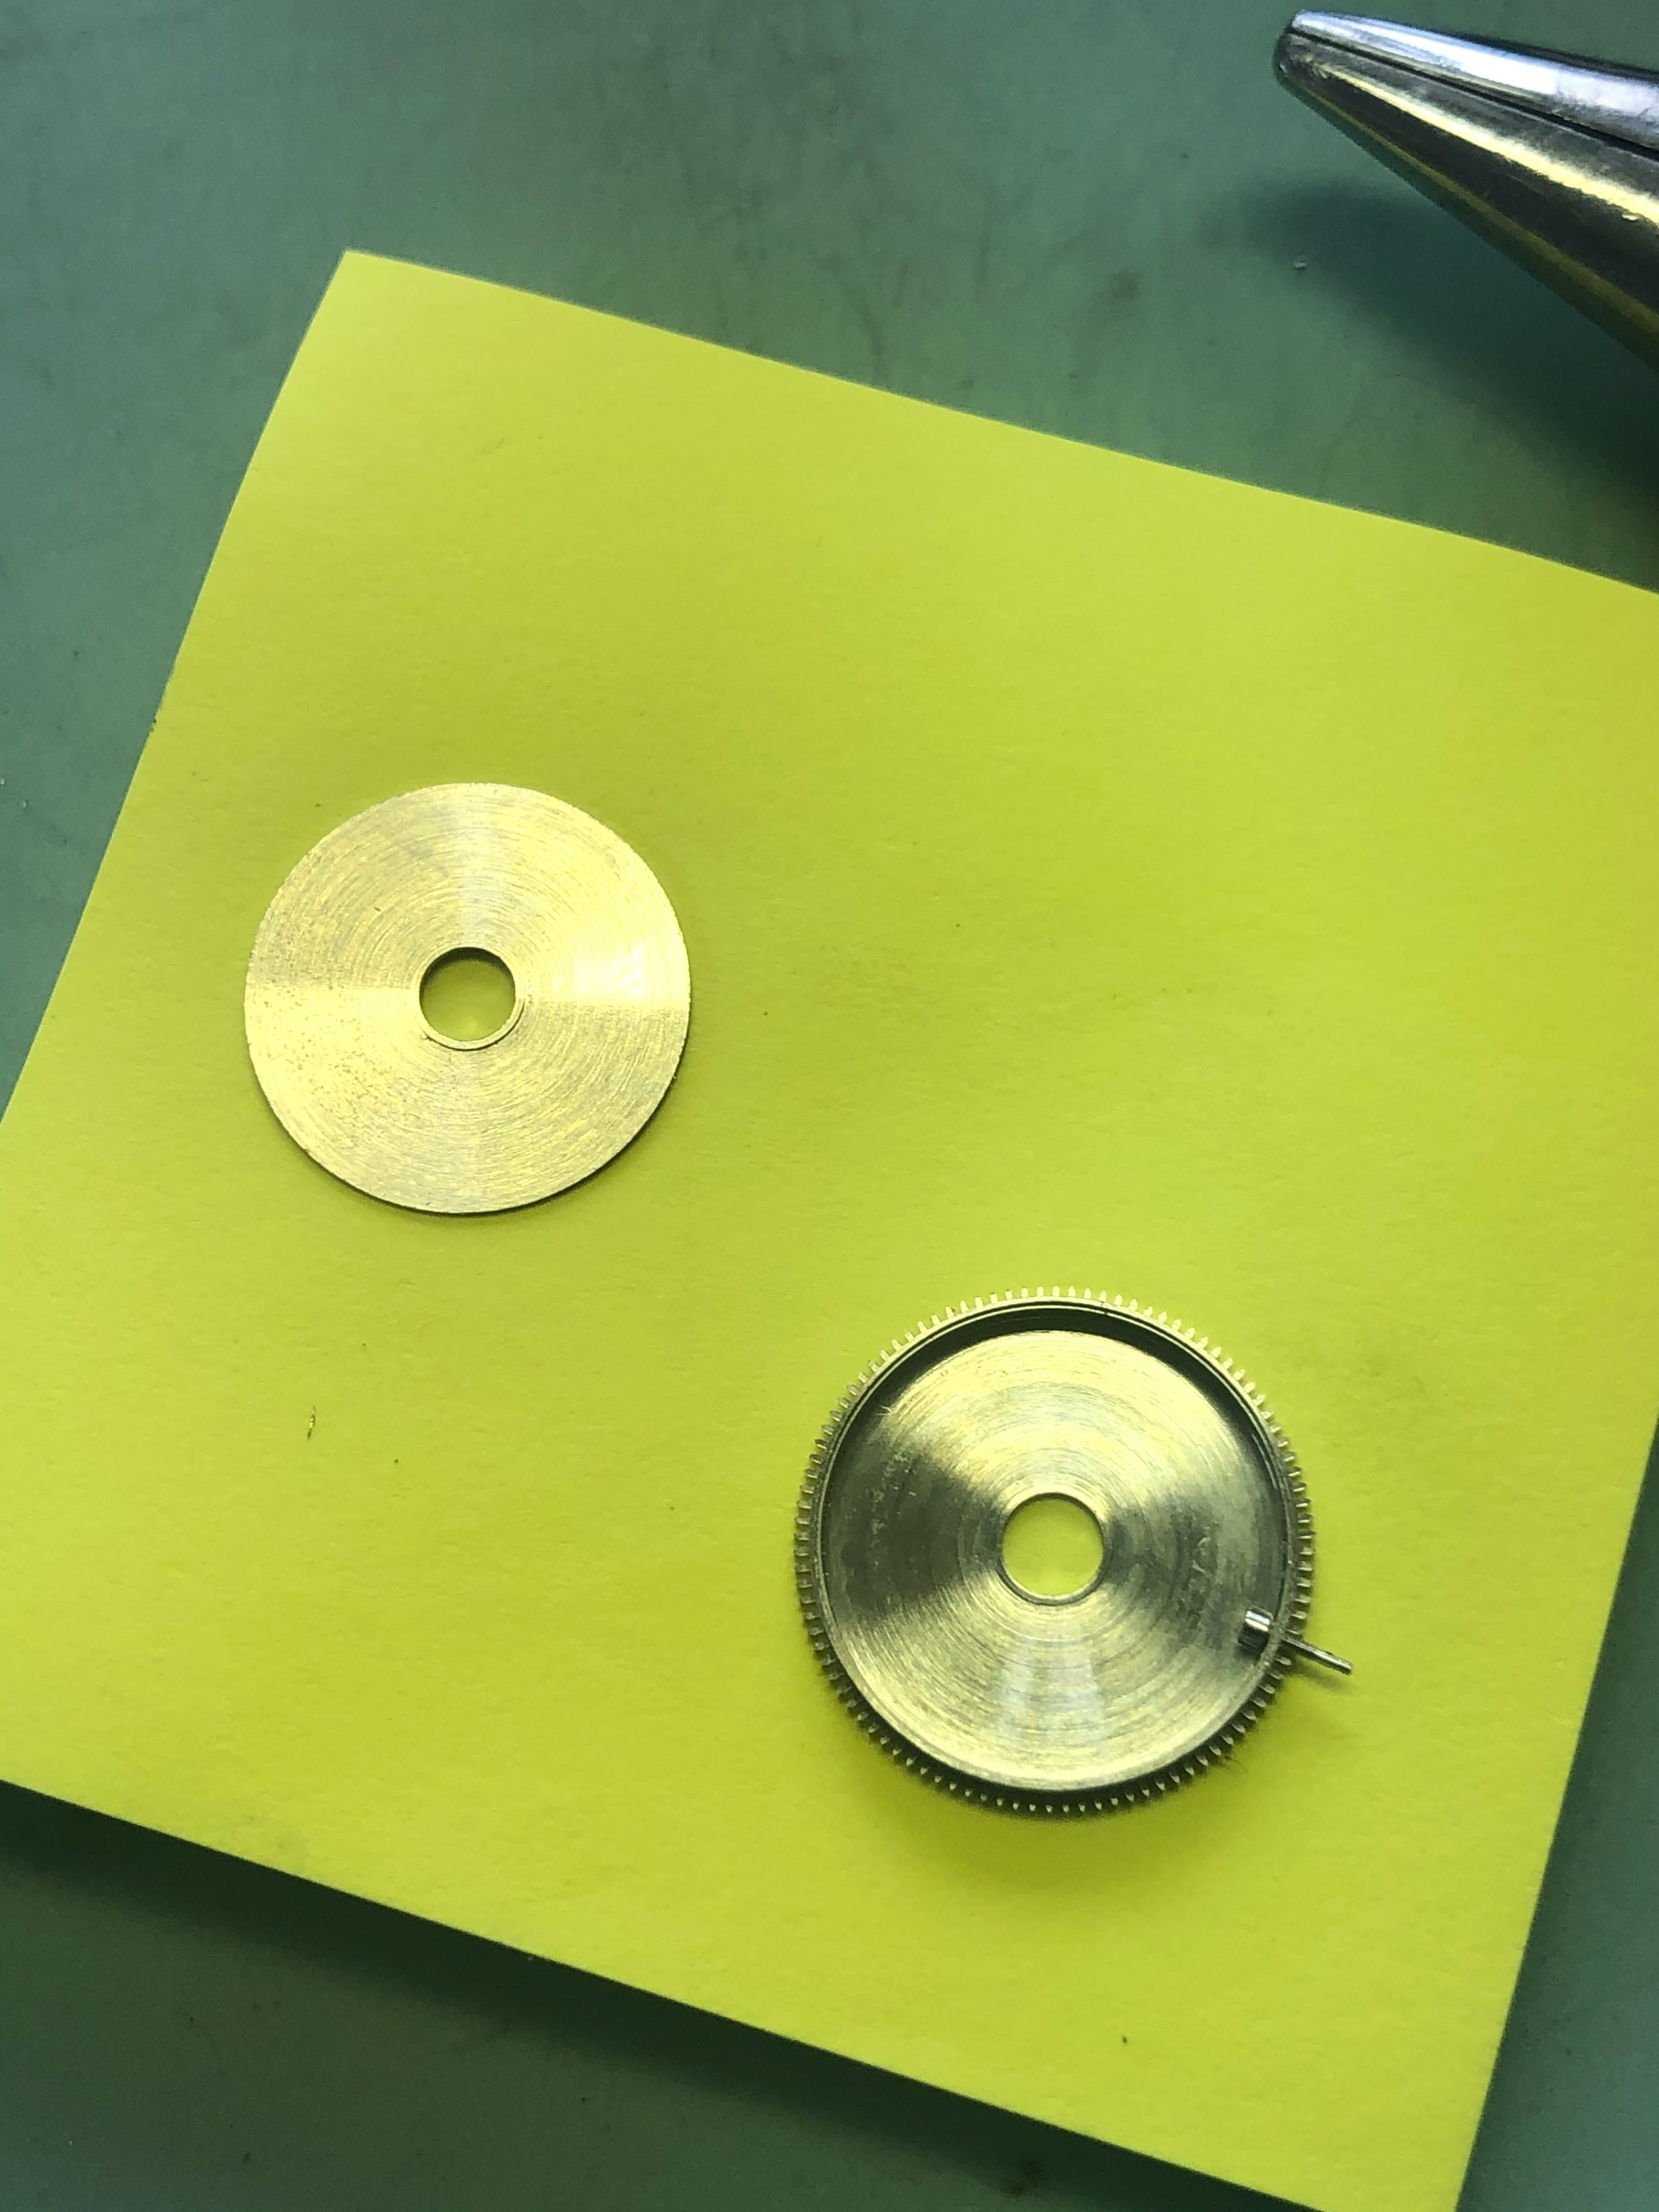
The barrel and its cover. The hook is in place, but still needs to be machined to its final shape.

Rolling stage (brunishing) of the pinion pivots.

Pinions are made from blanks. This is the second gear.

This is my great-grandfather's rounding machine.
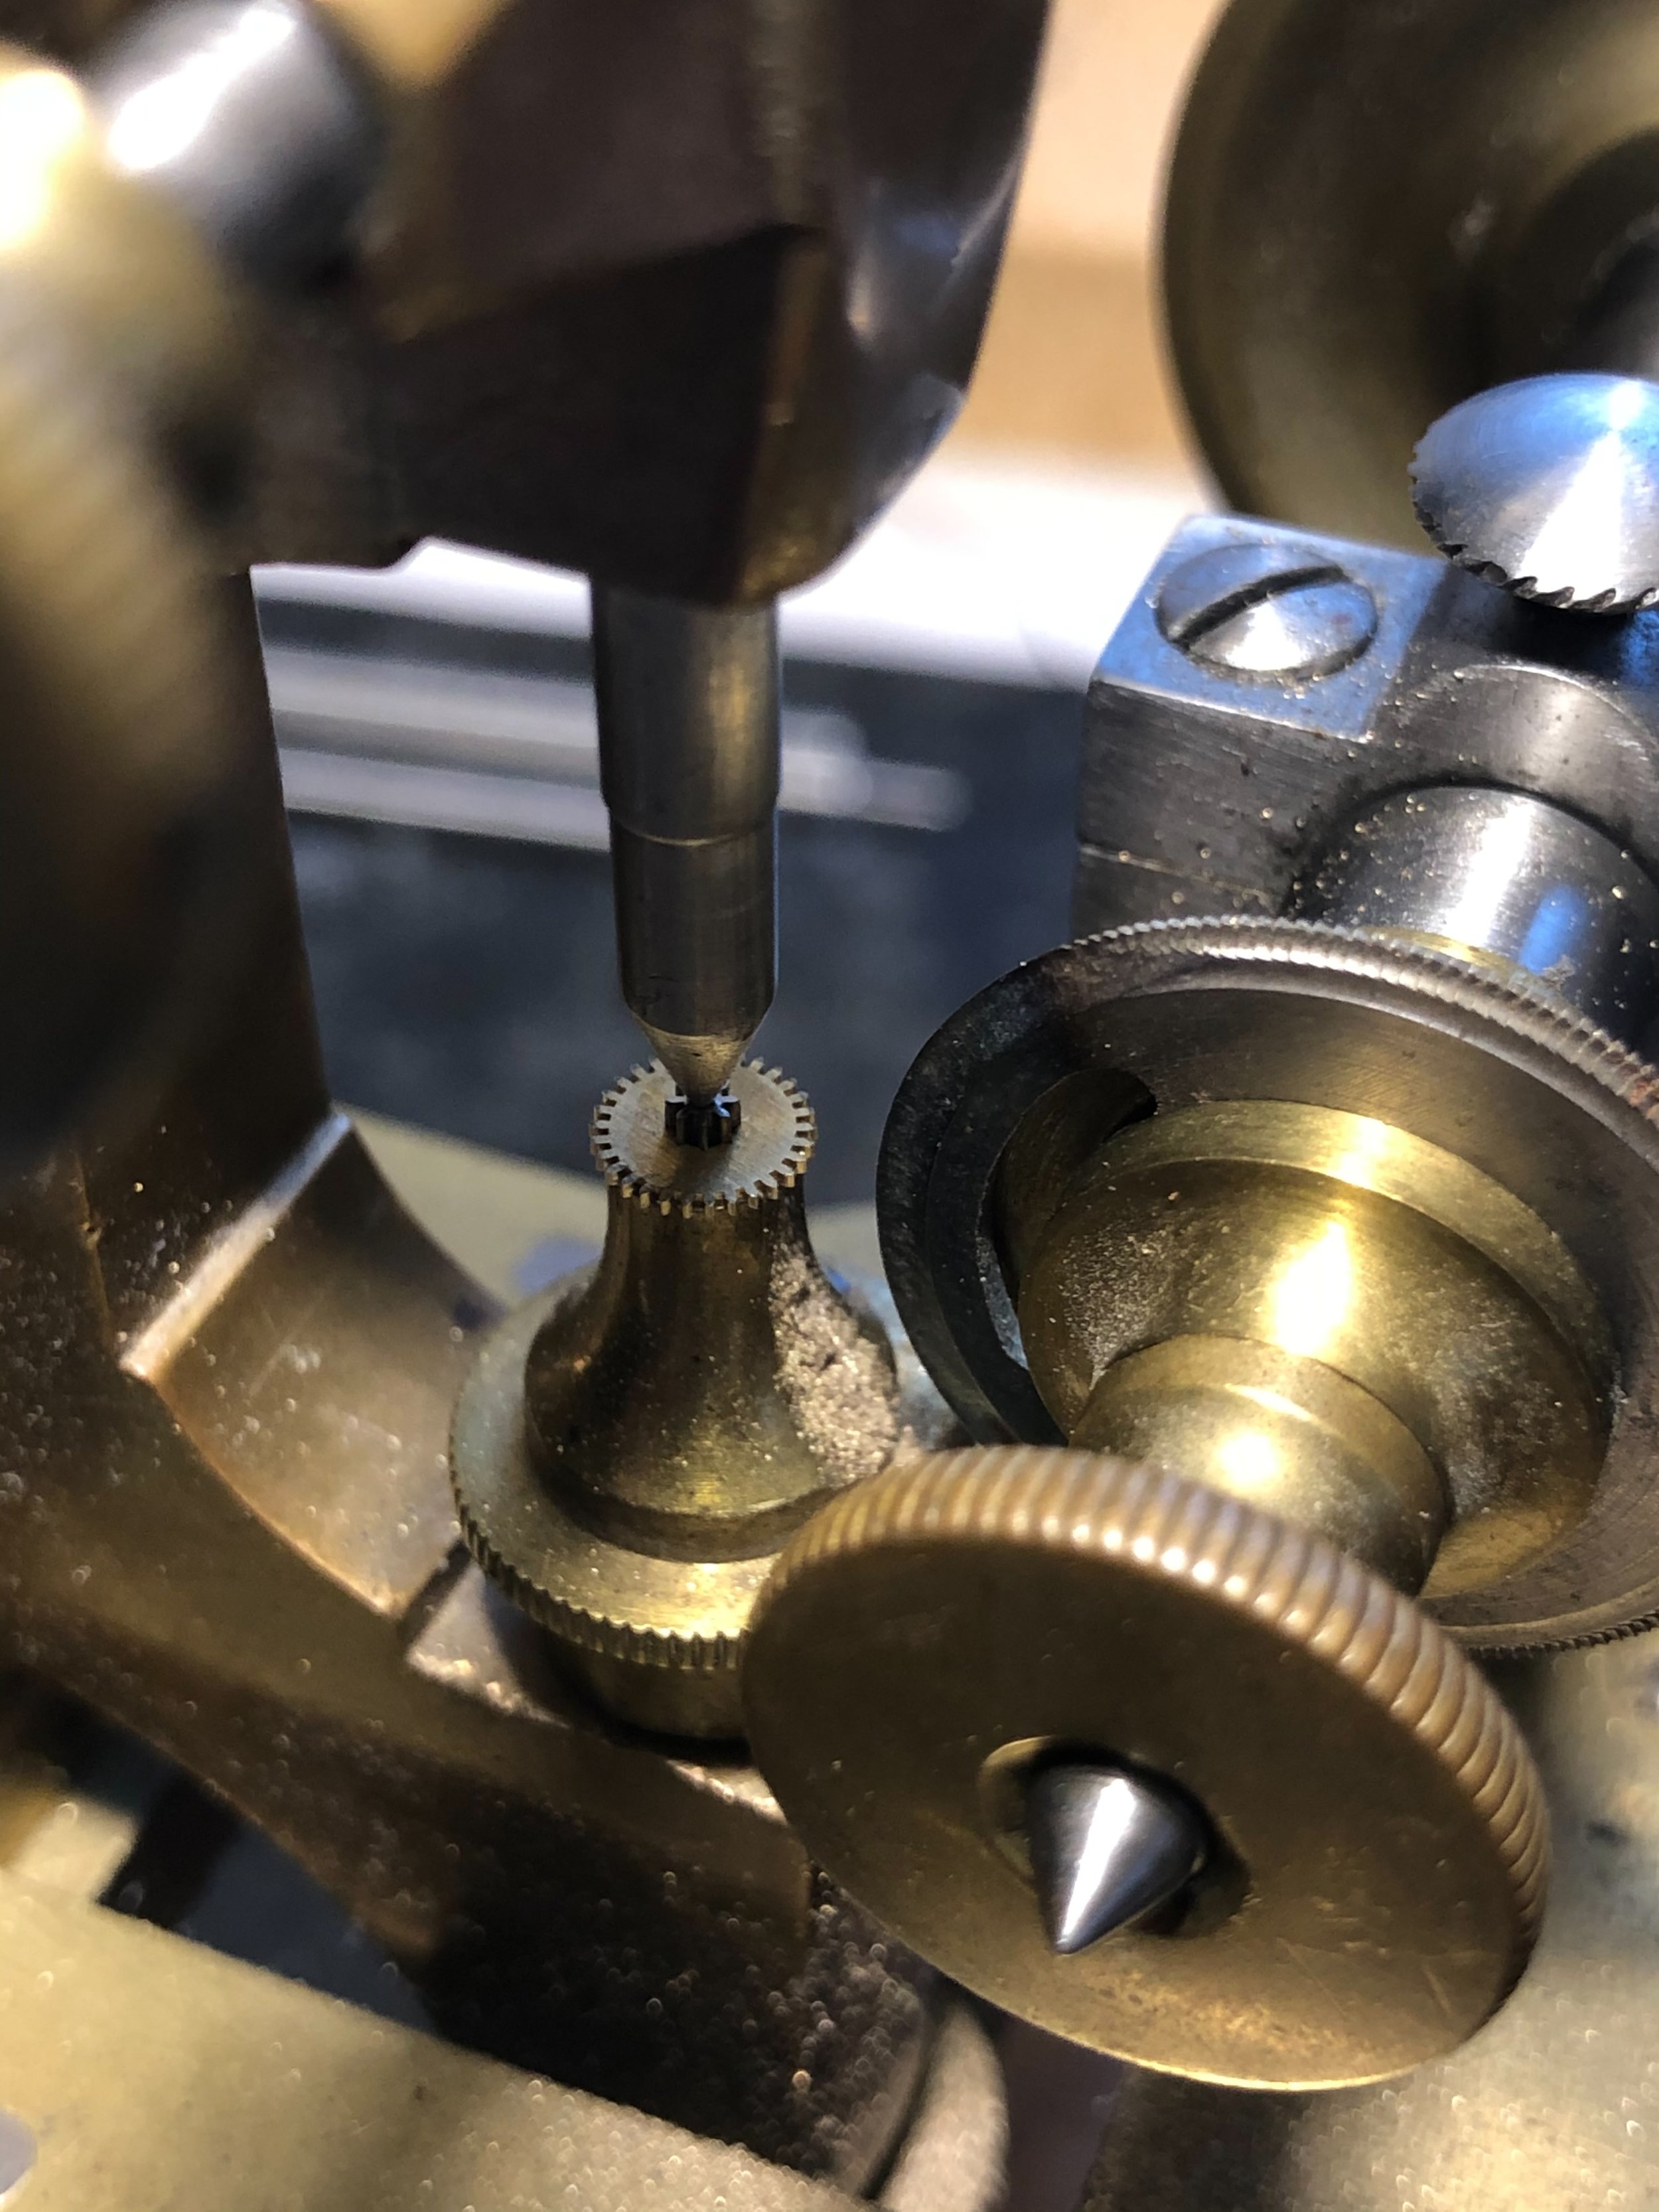
The wheel blanks used are intentionally chosen to be slightly larger in diameter. With the machine, the teeth are reduced until they fit the pinion with which they will work.

Checking gear tooth penetration.
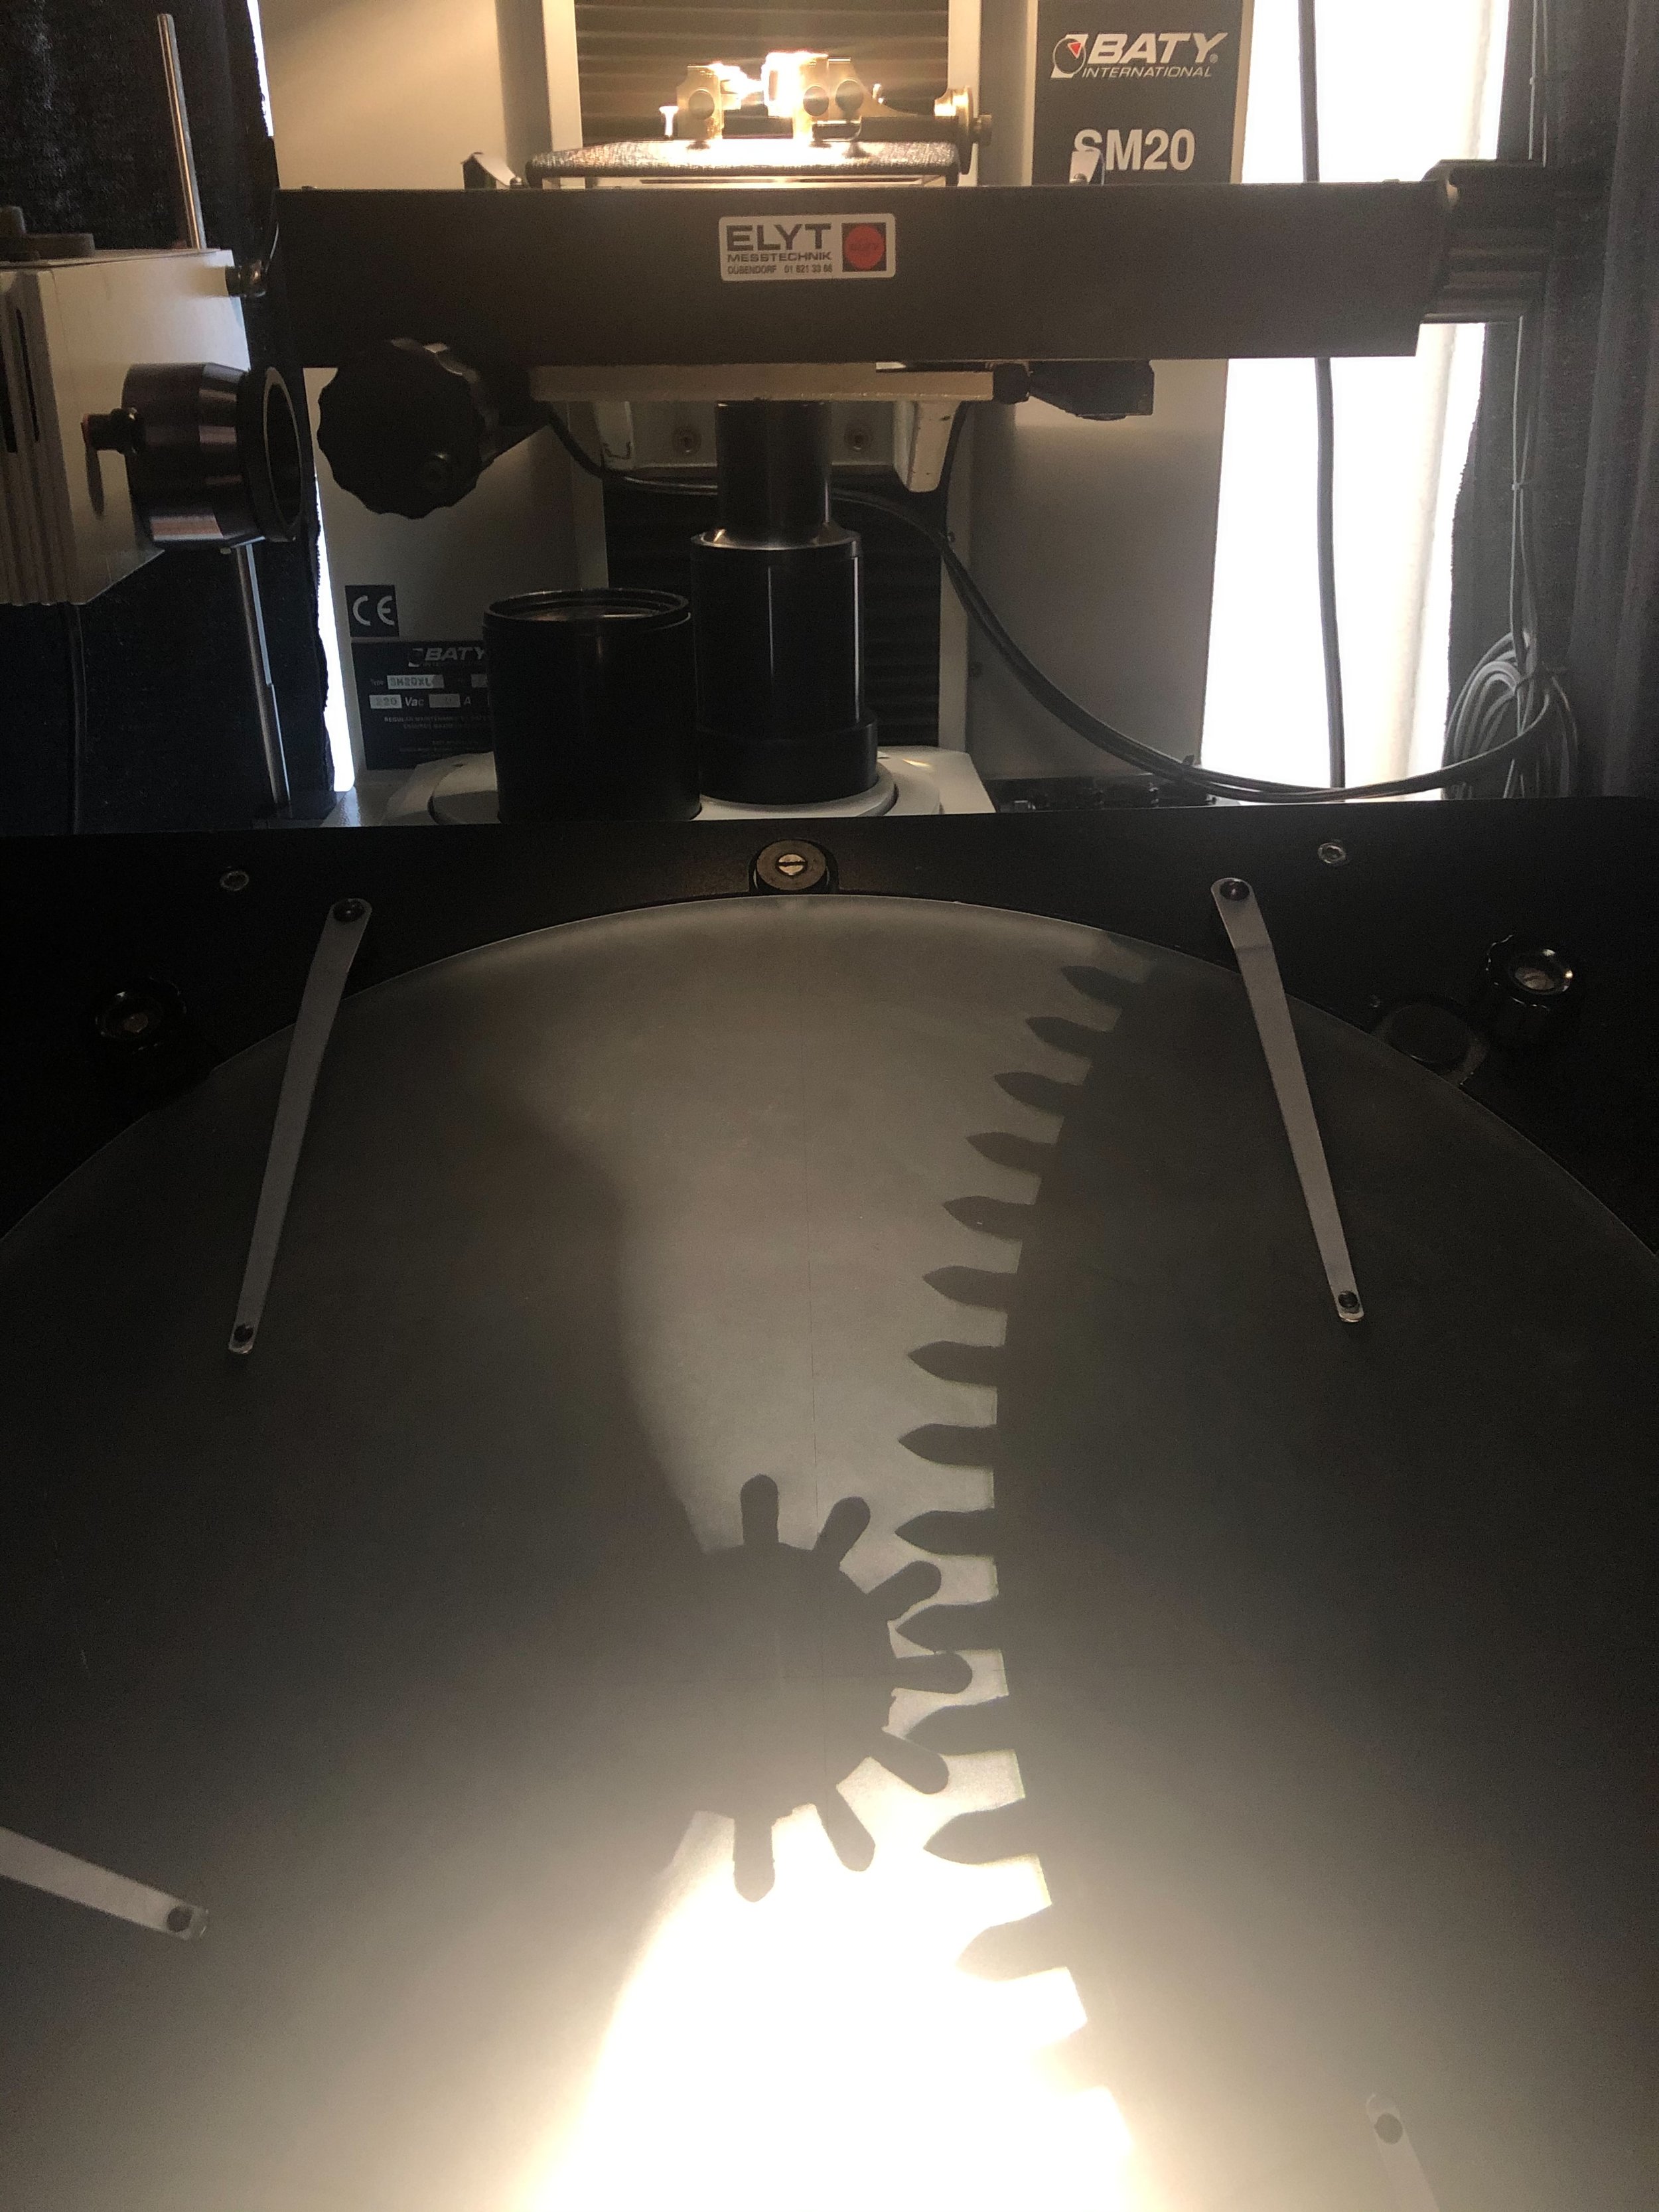
Enlarged gear control with profile projector.

Finishing the teeth with an Ingold cutter. The advantage of this tool is that it machines in the rolling direction of the gear. The machining marks are therefore in the right direction.

It's often necessary to start by making tools to perform certain operations. Here, the beveling of wheels.
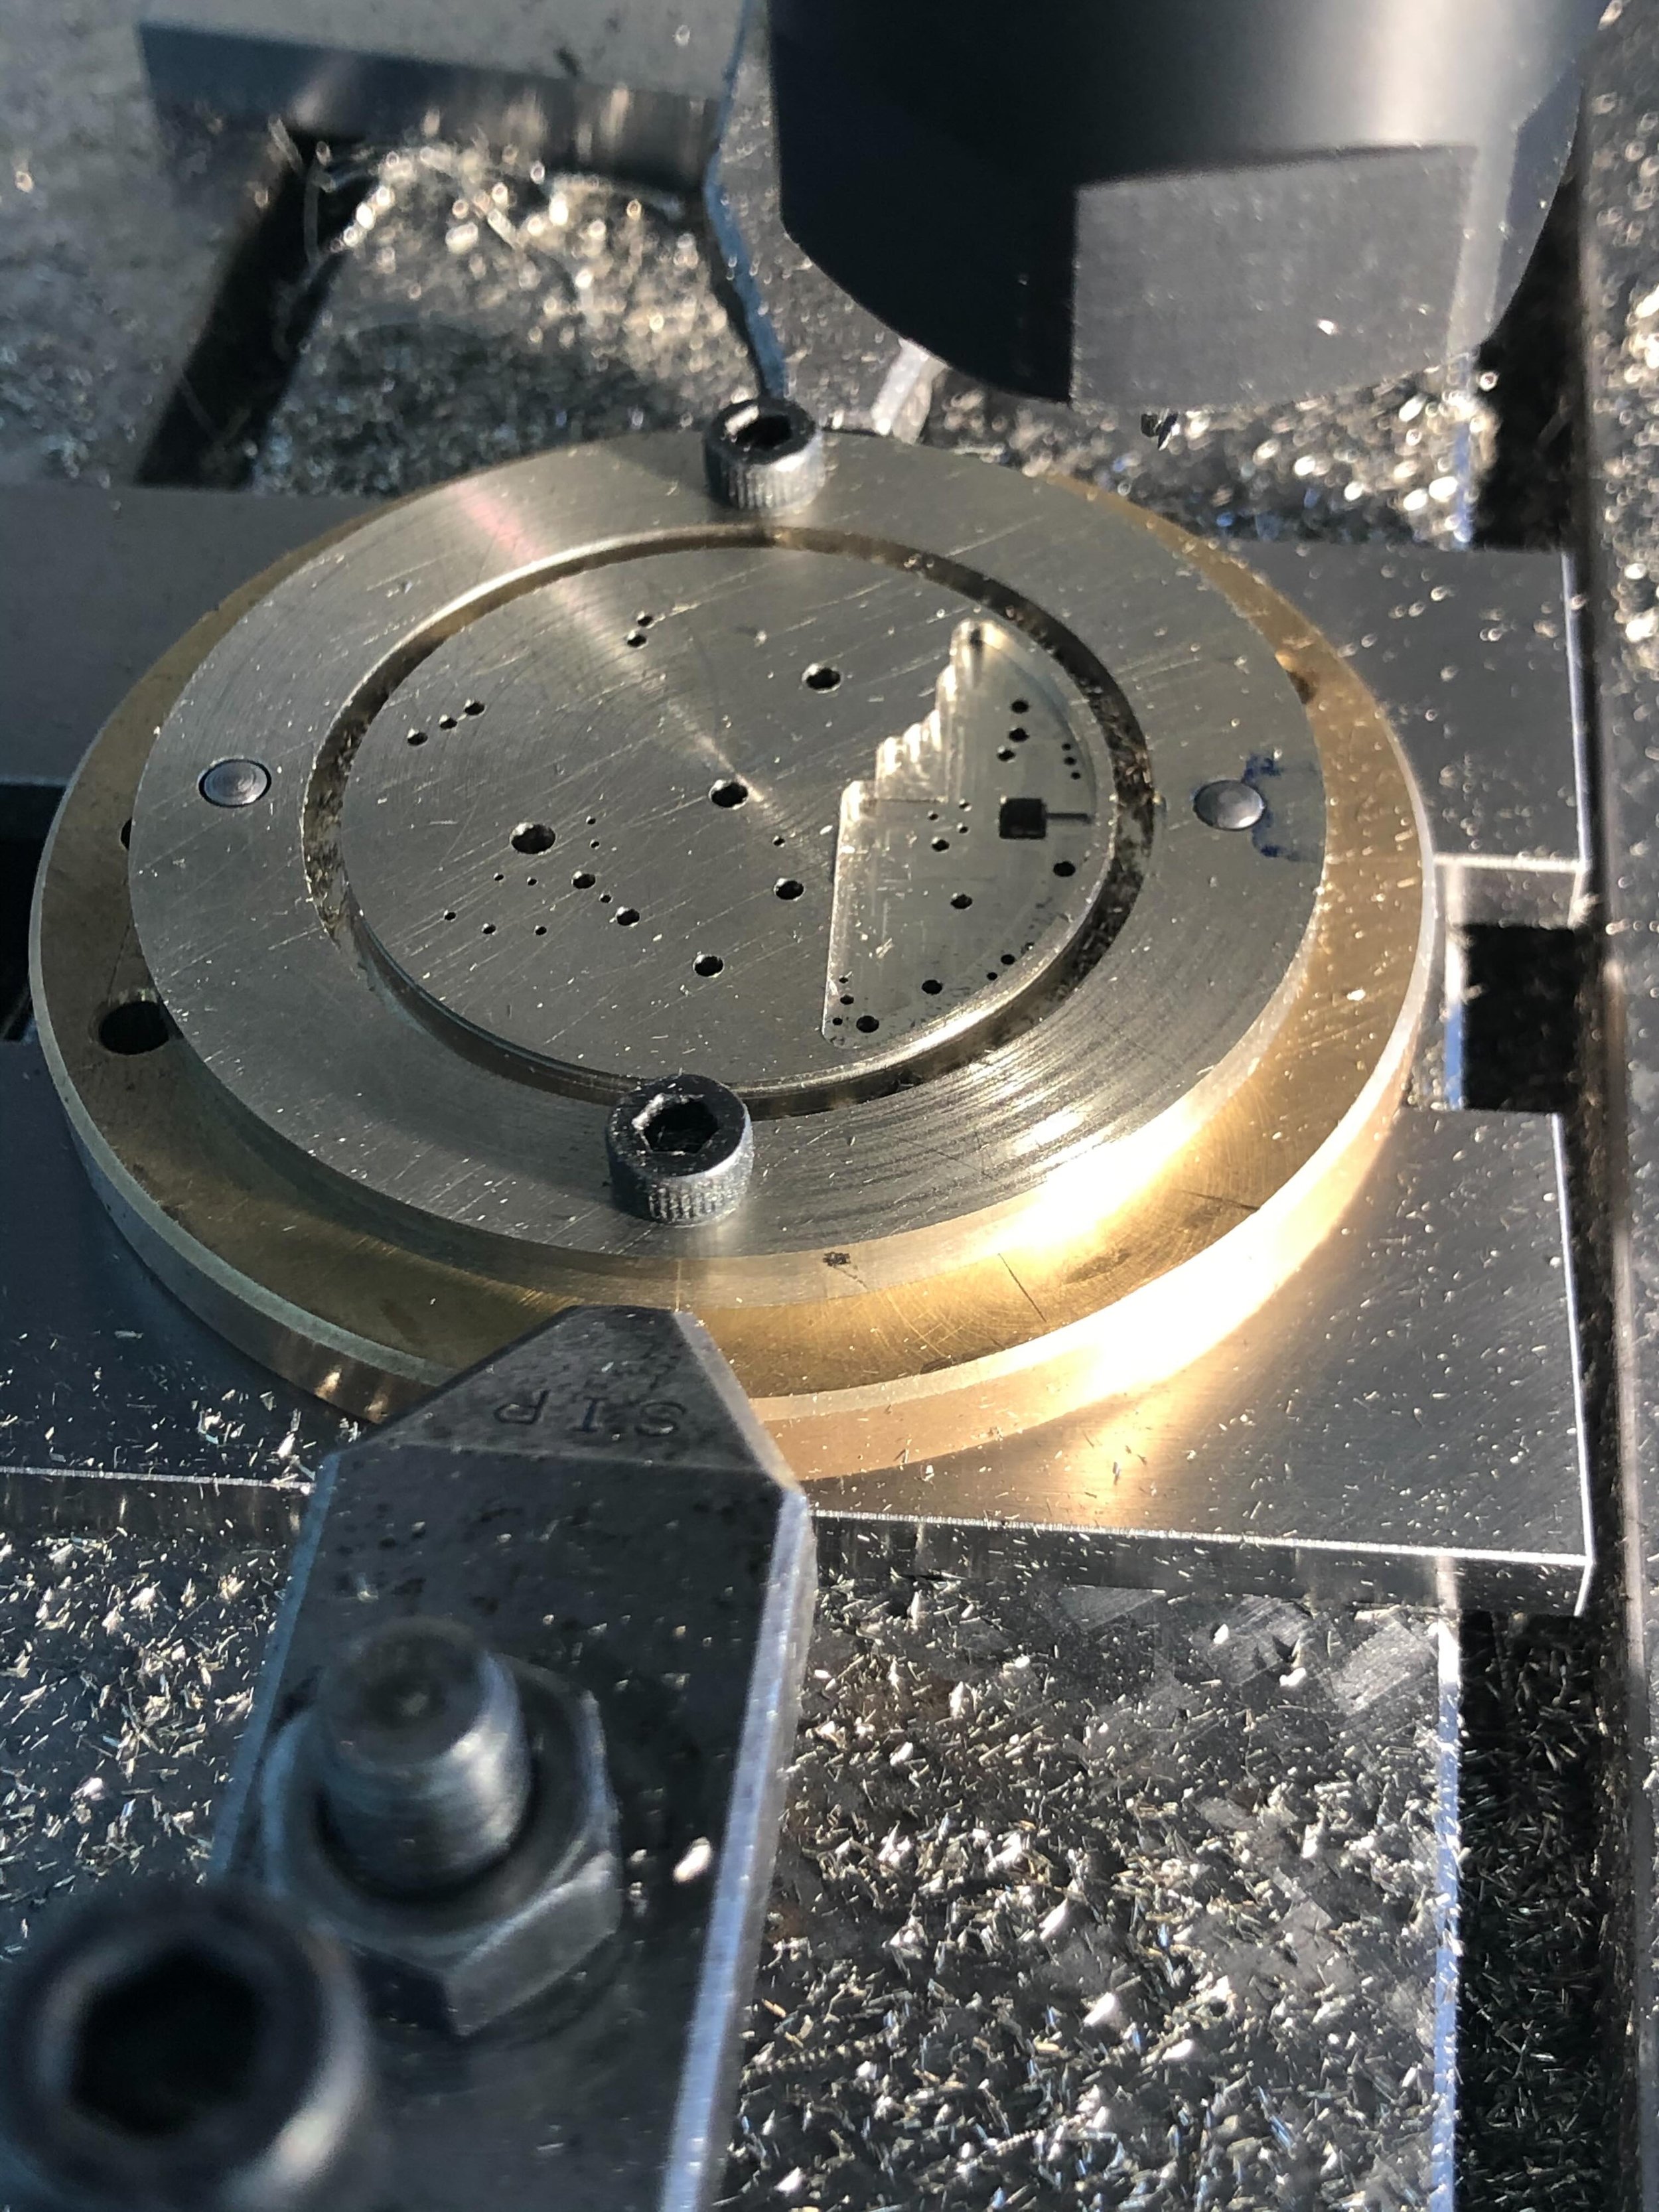
Machining the mainplate on a milling machine. Manual controls.
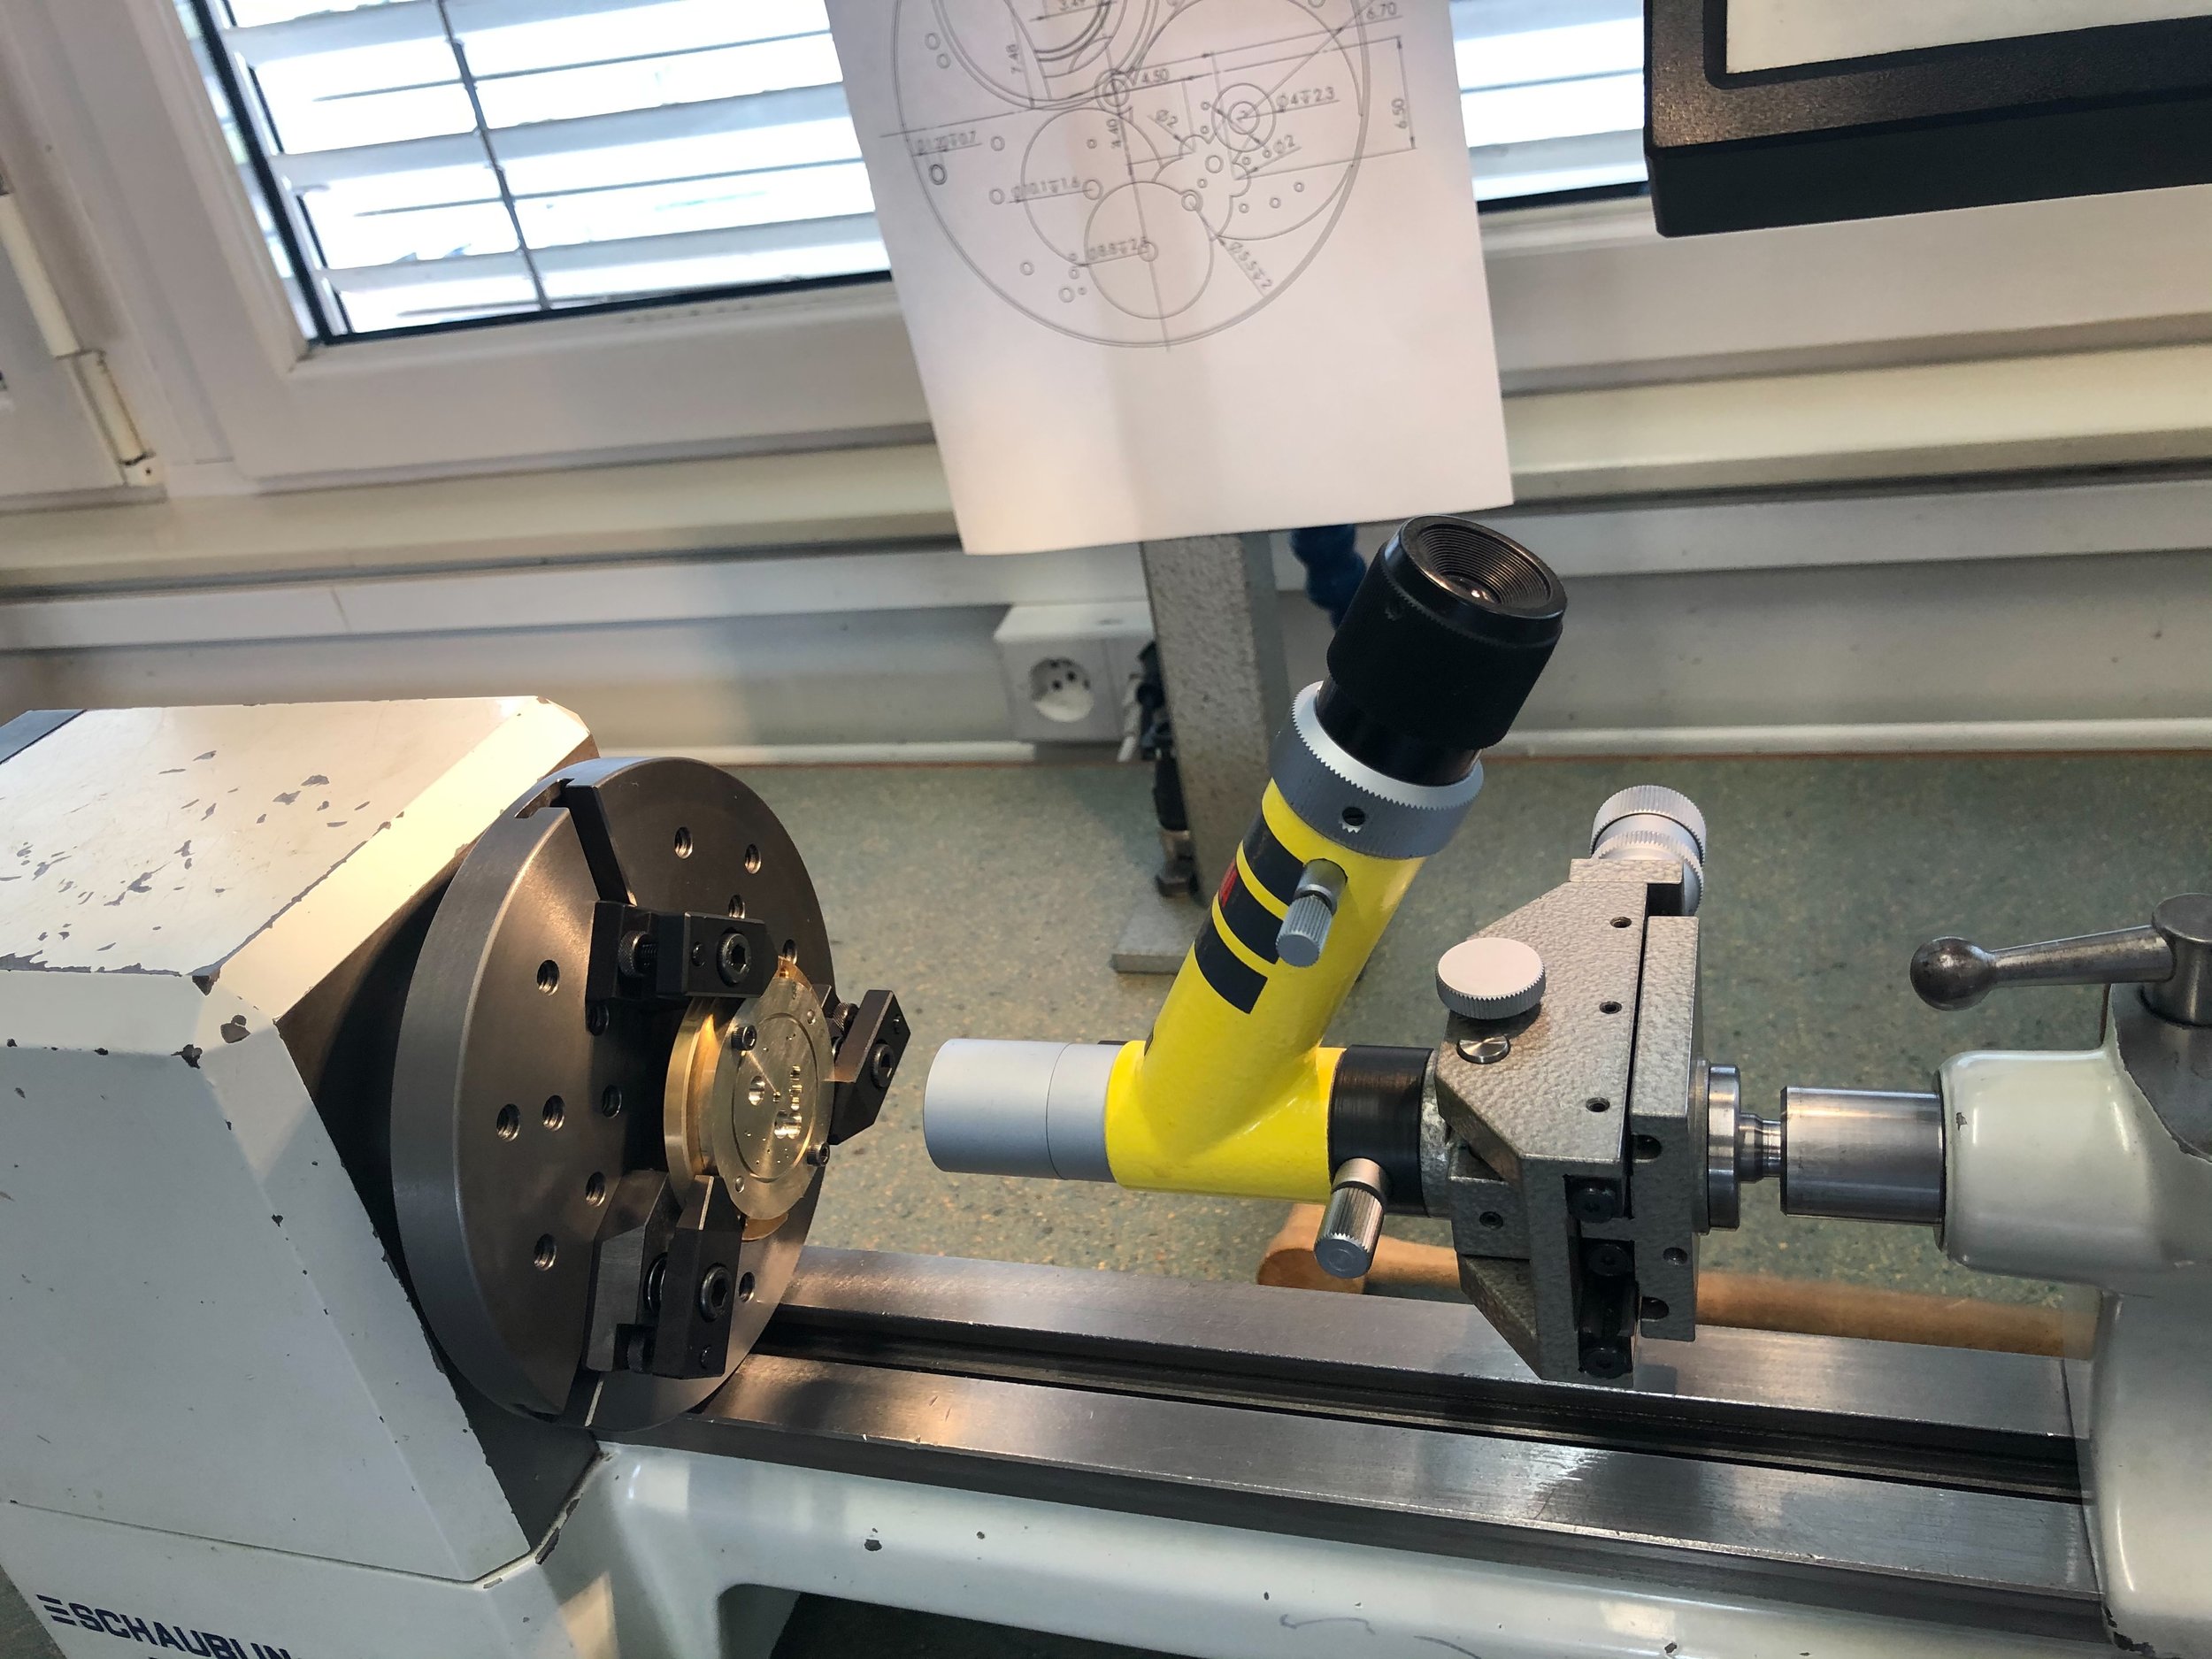
The wheel space in the mainplate are centered and then machined on a lathe.

Machining the setting lever core on the lathe.

After hardening, tempering.

Polishing the part.

The winding system is assembled
